Part 1: Hardware
Introduction to Stepper Motors
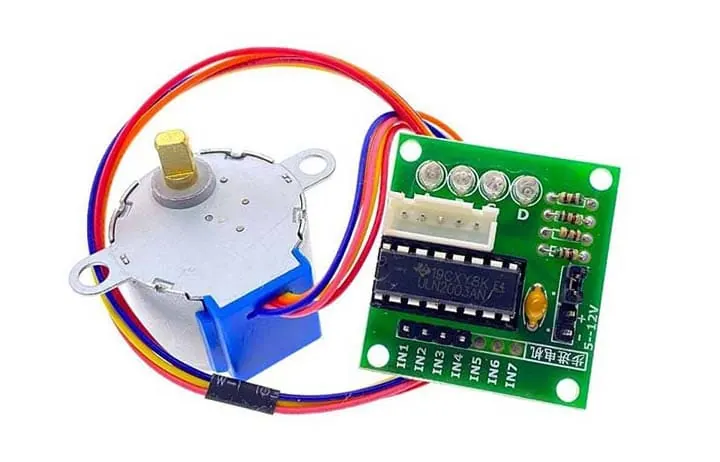
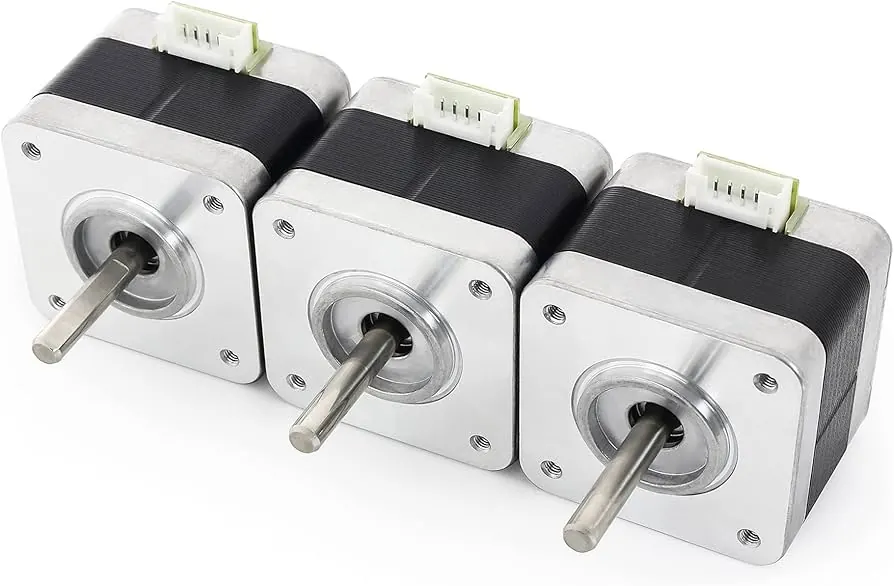
A stepper motor is a type of electric motor that rotates in distinct, fixed increments called steps. Unlike a DC motor which spins continuously when power is applied, a stepper motor moves a specific number of degrees and then holds its position. This ability to move in precise, controlled steps makes it useful for applications requiring accurate positioning, such as in 3D printers, CNC machines, or camera focusing mechanisms.
 |
 |
The primary difference between stepper and DC motors lies in their movement control.
- A DC motor's speed is controlled by the voltage applied, and its position is generally not tracked unless paired with an external encoder.
- A stepper motor divides a full rotation into a set number of steps; by energizing its coils in a specific sequence, the motor shaft advances one step at a time. This allows for direct control over both the angle of rotation and the rotational speed without needing additional feedback sensors.
Internal Operation of a Stepper Motor
|
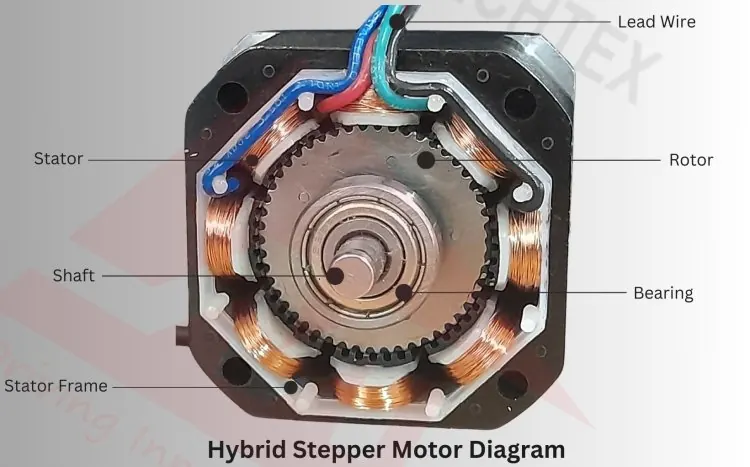
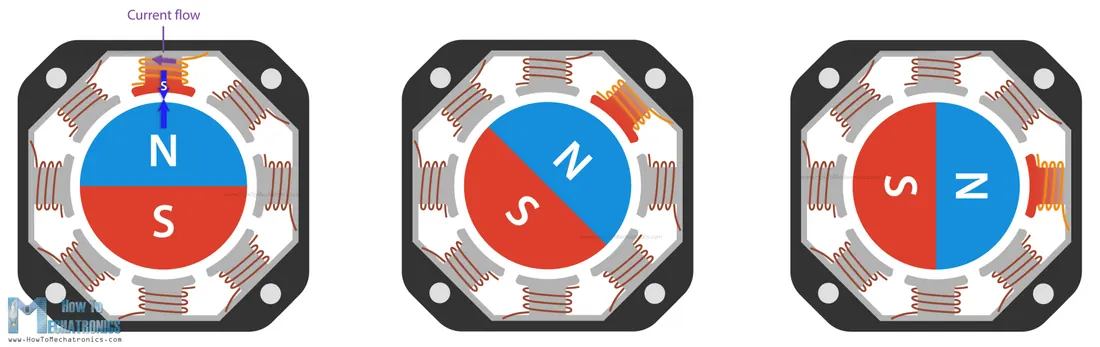
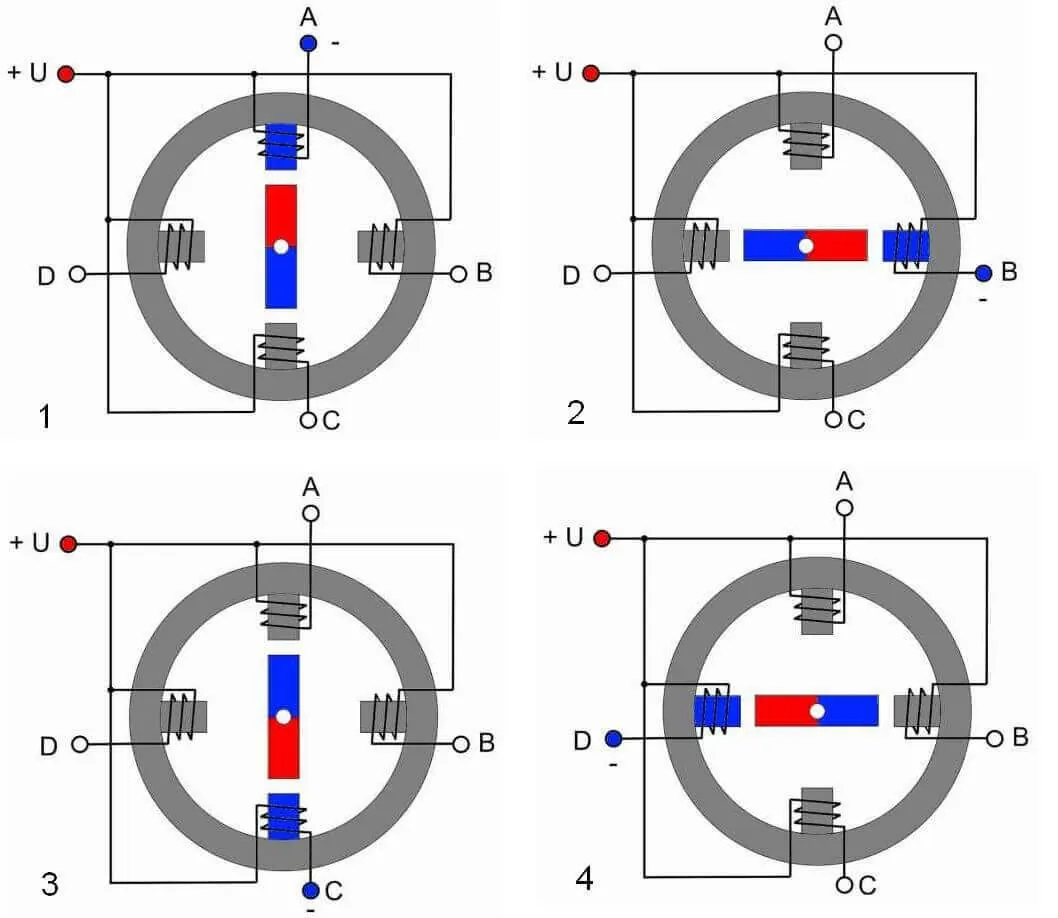
Inside a stepper motor, the rotor is a permanent magnet, and the stator contains several wire coils arranged in phases.
When current is applied to a specific coil, it creates a magnetic field that attracts the rotor's teeth, causing it to align with that coil. By sequentially energizing the coils in a pattern, the rotor is pulled from one position to the next. The most common patterns involve two or four coils, with each step corresponding to a small angular movement, such as 1.8 or 0.9 degrees. |
 |
Using a Driver Module
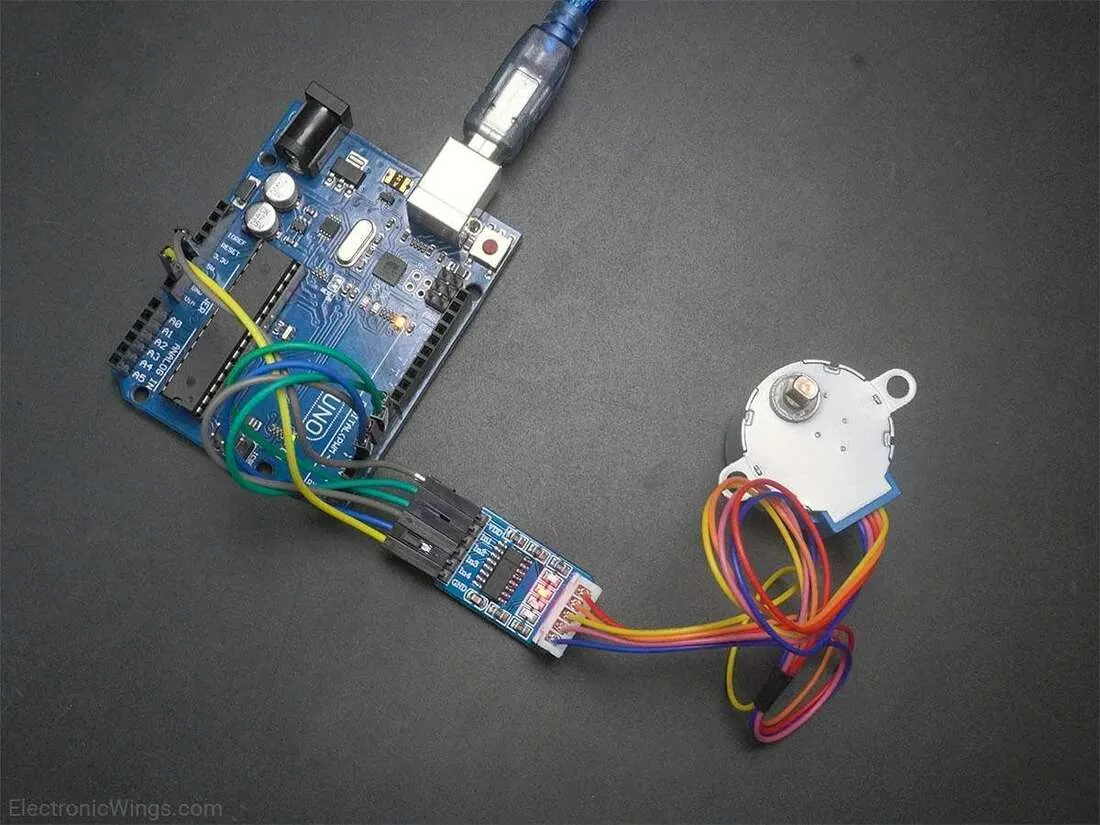
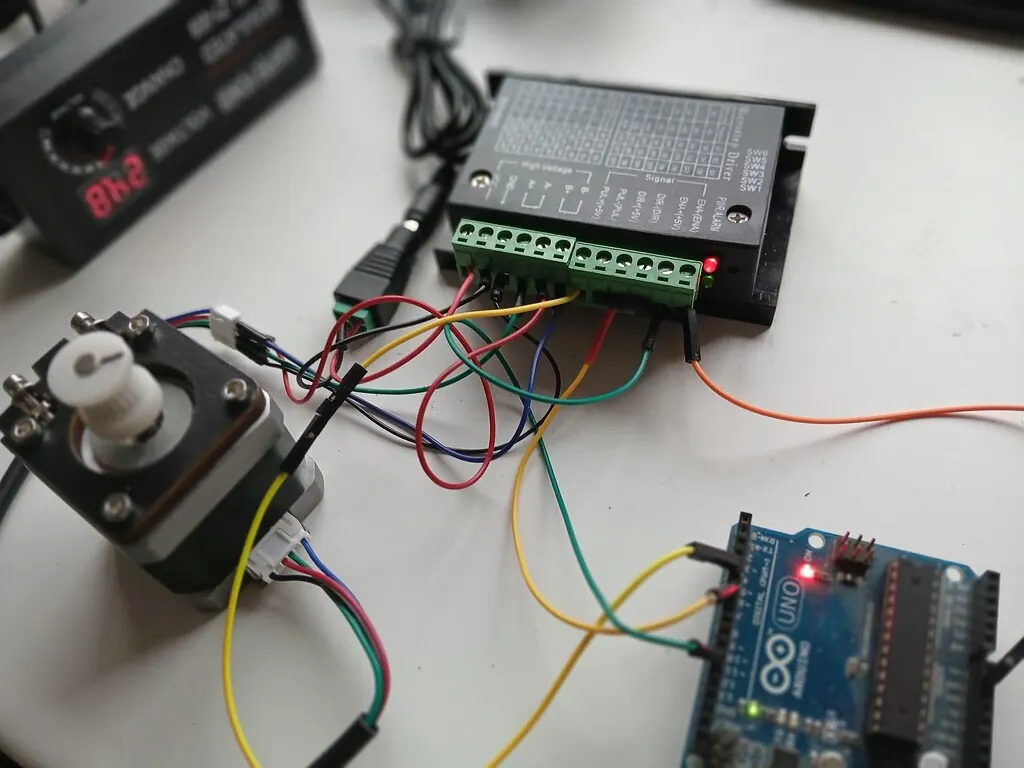
Stepper motors typically require more current than an Arduino pin can supply, and they need the coils to be energized in a specific sequence.
A stepper motor driver, such as the ULN2003 for unipolar motors or the A4988 for bipolar motors, handles these tasks. The driver module connects to the Arduino and uses a small number of control signals to manage the higher current needed by the motor coils and to execute the correct stepping sequence.
In TinkerCAD, the options are limited, and we will resort to use L293D motor driver.
A stepper motor driver, such as the ULN2003 for unipolar motors or the A4988 for bipolar motors, handles these tasks. The driver module connects to the Arduino and uses a small number of control signals to manage the higher current needed by the motor coils and to execute the correct stepping sequence.
In TinkerCAD, the options are limited, and we will resort to use L293D motor driver.
 |
 |
Applications and Practical Considerations
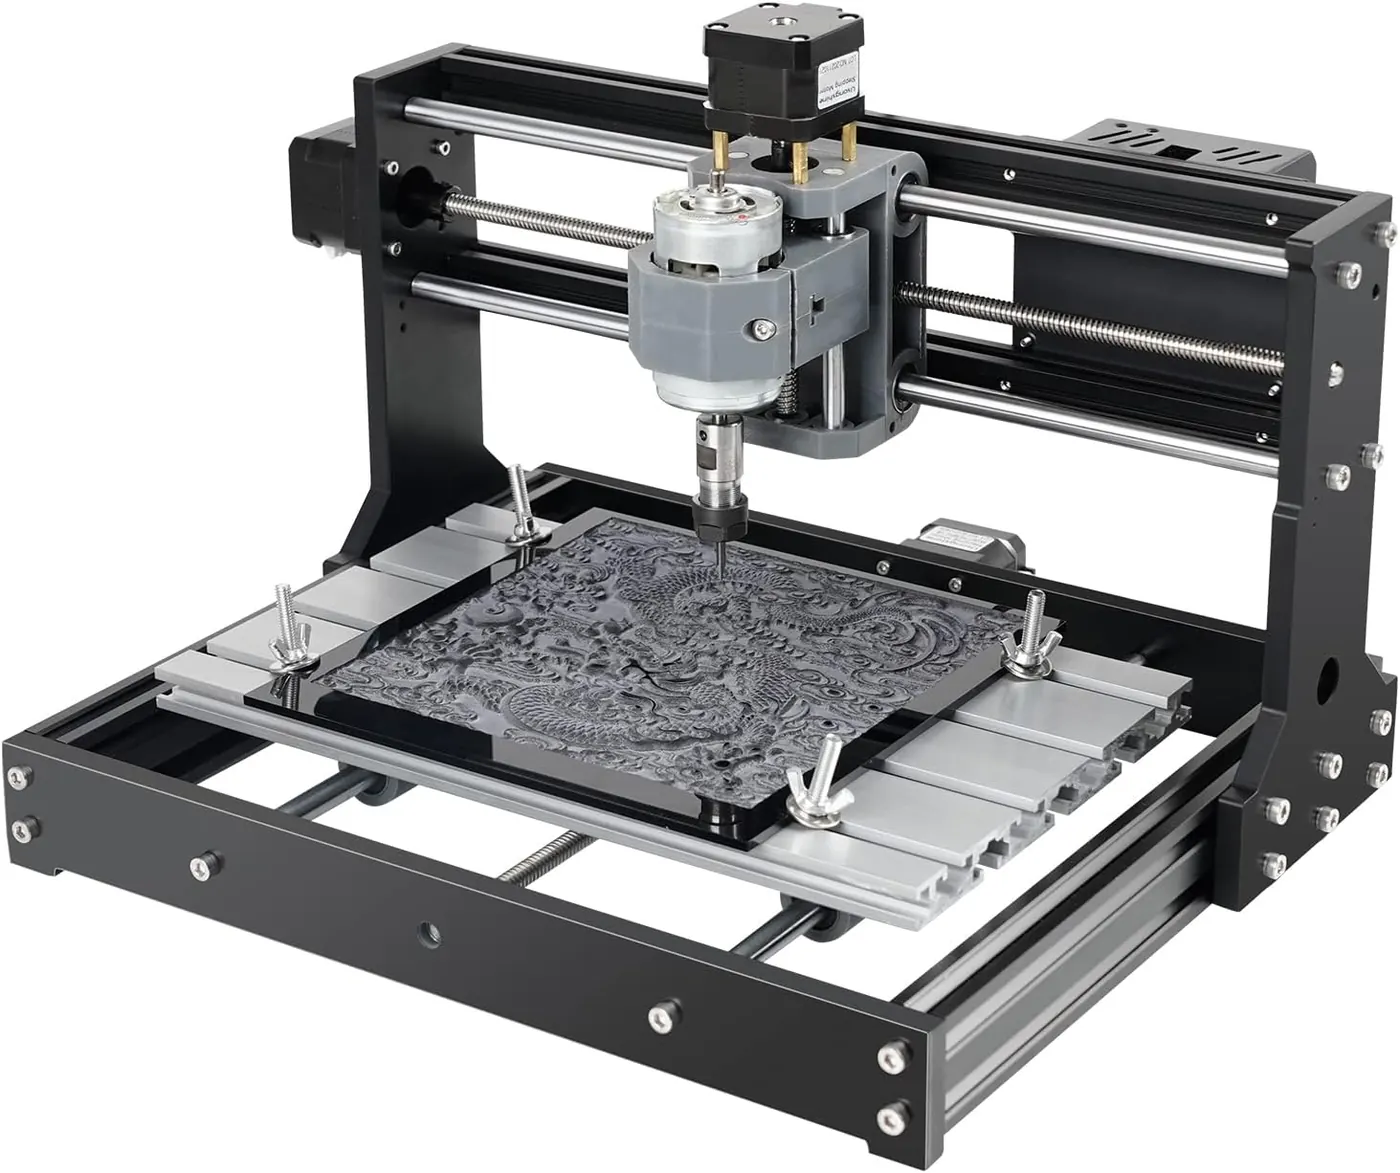
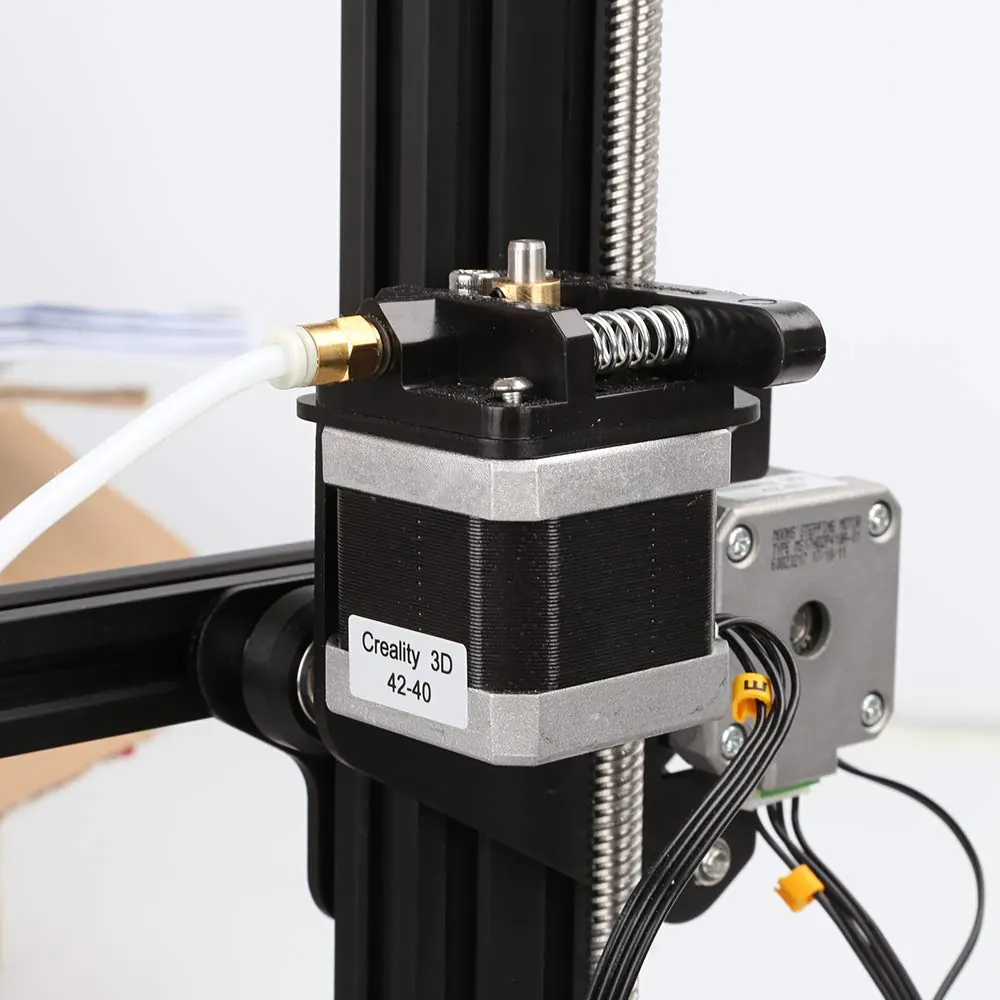
Stepper motors are chosen for tasks that require reliable positioning, such as moving a print head along an axis or rotating a display precisely. When designing a project, it is important to consider the motor's torque, which determines how much force it can apply, and the step angle, which defines the resolution of movement. Unlike servos, stepper motors do not have a positional feedback loop; they rely on the assumption that each commanded step is executed, which works reliably unless the motor encounters an obstruction beyond its torque capability.
 |
 |
Part 2: Software
To control a stepper motor, you must first include the necessary library and create a motor object.
Include the Library and Create the Motor Object
The Stepper myStepper(...) line creates an object to control your motor. The four numbers (8, 9, 10, 11) are the digital pins connected to your motor driver. The exact pin numbers depend on your circuit wiring.
Stepper Motor Library Setup
#include <Stepper.h>                    // Include the Stepper library

const int stepsPerRevolution = 200;     // Number of steps for one full rotation
Stepper myStepper(stepsPerRevolution, 8, 9, 10, 11); // Create motor object
Set the Motor Speed
The setSpeed() function determines how fast the motor rotates. The number represents revolutions per minute (RPM). A lower number results in slower, more precise movement, while a higher number gives faster rotation.
Stepper Motor Speed Setup
void setup() {
  myStepper.setSpeed(60);               // Set speed to 60 revolutions per minute (RPM)
  Serial.begin(9600);                   // Optional: Start serial for monitoring
}
Control Movement Direction and Steps
The step() function controls the motor movement. A positive number moves the motor clockwise, while a negative number moves it counterclockwise. The number specifies how many steps the motor will take. Adding a short delay() between movements gives the motor time to complete its motion before receiving the next command.
Stepper Motor Movement Control
void loop() {
  // Move 100 steps clockwise (positive number = clockwise)
  myStepper.step(100);
  delay(1000);

  // Move 100 steps counterclockwise (negative number = counterclockwise)
  myStepper.step(-100);
  delay(1000);
}
Part 3: Integrated Projects
Exercise 1: Controlling the Stepper Motor
|
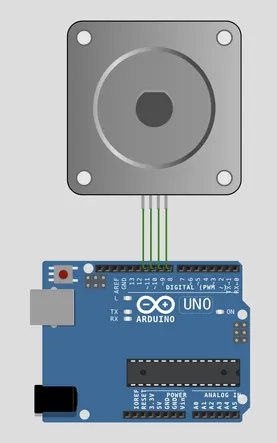
Objective: Learn to turn on the stepper motor.
Copy the code below and paste it into the simulator, try to fill in the code using the hints. |
 Click image for the simulation.
|
Stepper Motor Control Practice Template
// Include the required library for stepper motor control
#include <________.h>                              // HINT: Stepper

// Define the number of steps for one full rotation of your motor
const int stepsPerRevolution = ________;          // HINT: 200

// Create a stepper motor object connected to pins 8, 9, 10, and 11
Stepper myStepper(________, 8, 9, 10, 11);        // HINT: stepsPerRevolution

void setup() {
  // Set the motor speed to 60 revolutions per minute
  myStepper.________(60);                         // HINT: setSpeed

  // Start serial communication for monitoring
  Serial.begin(9600);
}

void loop() {
  // Announce clockwise movement
  Serial.println("________");                     // HINT: clockwise

  // Move the motor one full revolution clockwise
  myStepper.________(________);                   // HINT: step, stepsPerRevolution
  delay(500);

  // Announce counterclockwise movement
  Serial.println("________");                     // HINT: counterclockwise

  // Move the motor one full revolution counterclockwise
  myStepper.________(________);                   // HINT: step, -stepsPerRevolution
  delay(500);
}
Exercise 2: Motion sequence
Objective: Program the stepper motor to execute a specific sequence of movements with different speeds and directions.
Instructions: Complete the code below to make the motor follow this sequence:
Instructions: Complete the code below to make the motor follow this sequence:
- Move 50 steps clockwise at SLOW speed
- Move 100 steps counterclockwise at MEDIUM speed
- Move 200 steps clockwise at FAST speed
- Wait 2 seconds, then repeat
Advanced Stepper Motor Control Template
#include <Stepper.h>

const int stepsPerRevolution = 200;
Stepper myStepper(stepsPerRevolution, 8, 9, 10, 11);

// Speed constants (in RPM)
const int SLOW_SPEED = ________;      // HINT: Try 30
const int MEDIUM_SPEED = ________;    // HINT: Try 60
const int FAST_SPEED = ________;      // HINT: Try 90

void setup() {
  Serial.begin(9600);
}

void loop() {
  Serial.println("Sequence starting...");

  // STEP 1: Slow clockwise movement (50 steps)
  myStepper.________(________);        // HINT: setSpeed, SLOW_SPEED
  Serial.print("Step 1: Slow CW - ");
  Serial.println(SLOW_SPEED);
  myStepper.________(________);        // HINT: step, 50
  delay(500);

  // STEP 2: Medium counterclockwise movement (100 steps)
  myStepper.________(________);        // HINT: setSpeed, MEDIUM_SPEED
  Serial.print("Step 2: Medium CCW - ");
  Serial.println(MEDIUM_SPEED);
  myStepper.________(________);        // HINT: step, -100
  delay(500);

  // STEP 3: Fast clockwise movement (200 steps)
  myStepper.________(________);        // HINT: setSpeed, FAST_SPEED
  Serial.print("Step 3: Fast CW - ");
  Serial.println(FAST_SPEED);
  myStepper.________(________);        // HINT: step, 200
  delay(500);

  // STEP 4: Wait before repeating sequence
  Serial.println("Waiting...");
  delay(________);                     // HINT: 2000 (2 seconds)
}