Part 1: Hardware
Introduction to DC Motors
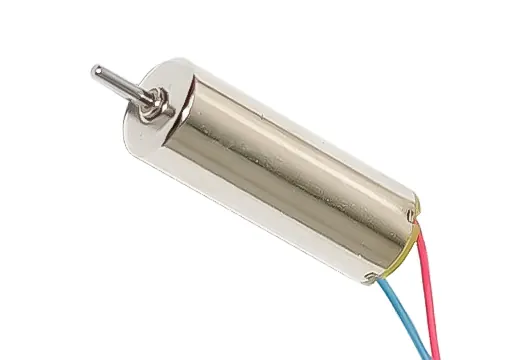
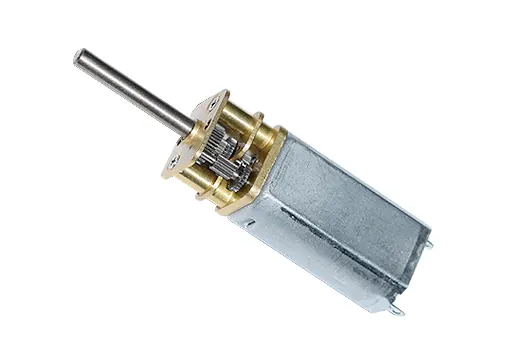
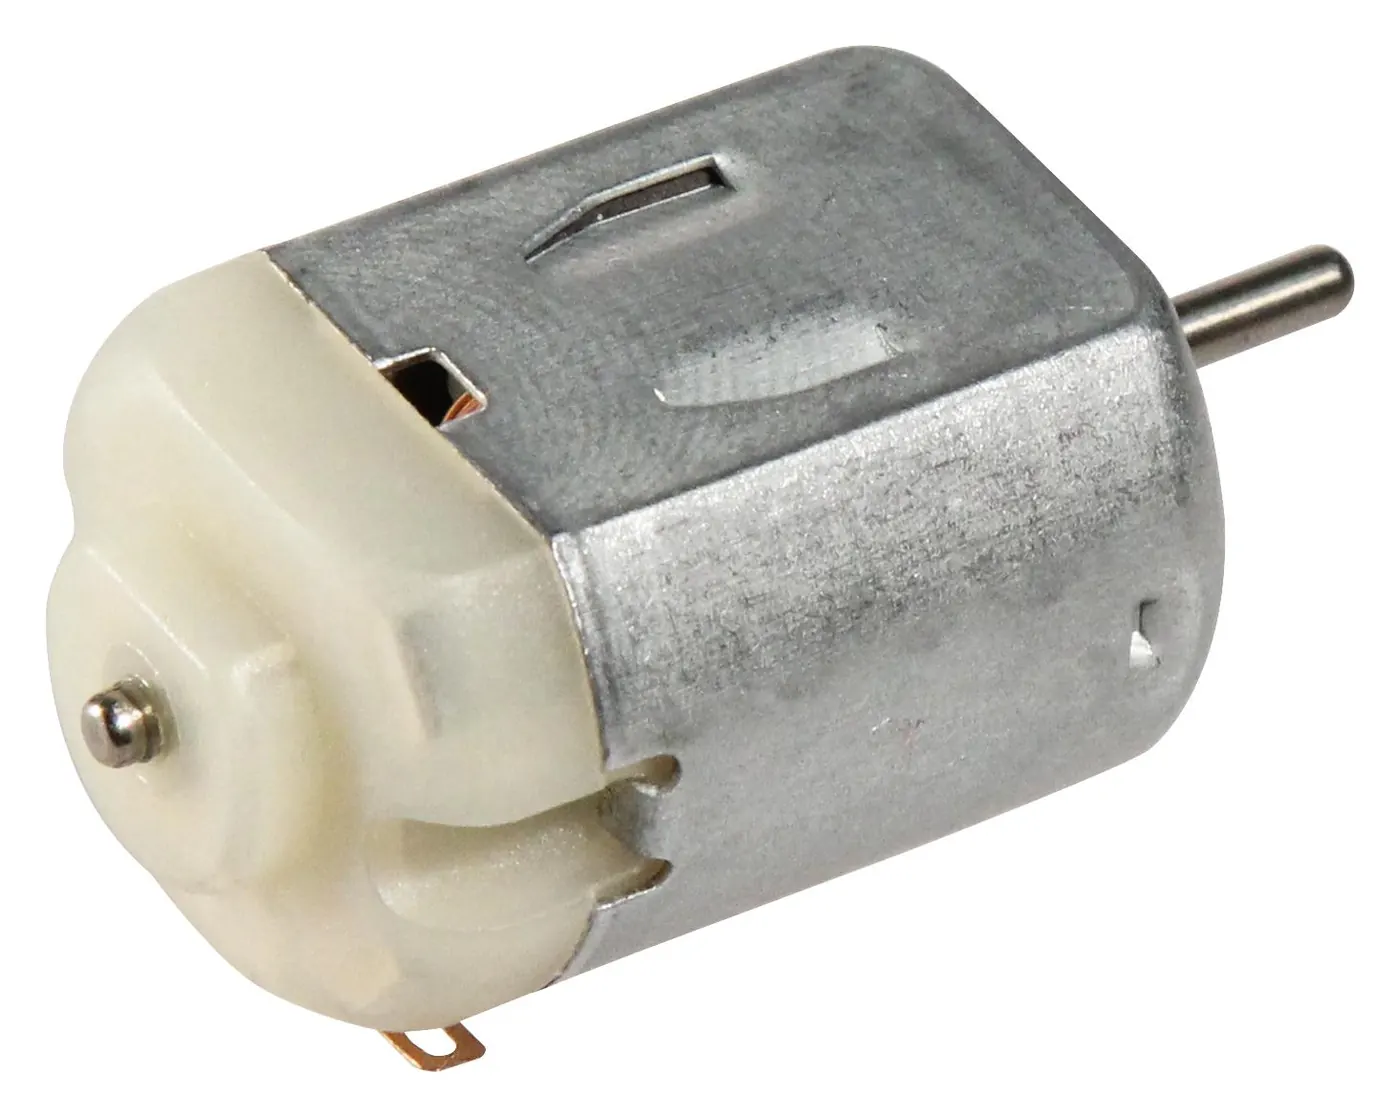
A DC (Direct Current) motor is an electromechanical device that converts electrical energy into rotational motion. When power is applied, the motor shaft spins continuously until the power is removed. Unlike servo motors, which move to specific positions, DC motors are designed for ongoing rotation, making them suitable for applications like wheeled robots, conveyor belts, and fans. The speed of rotation generally increases with the voltage applied to the motor.
 |
 |
 |
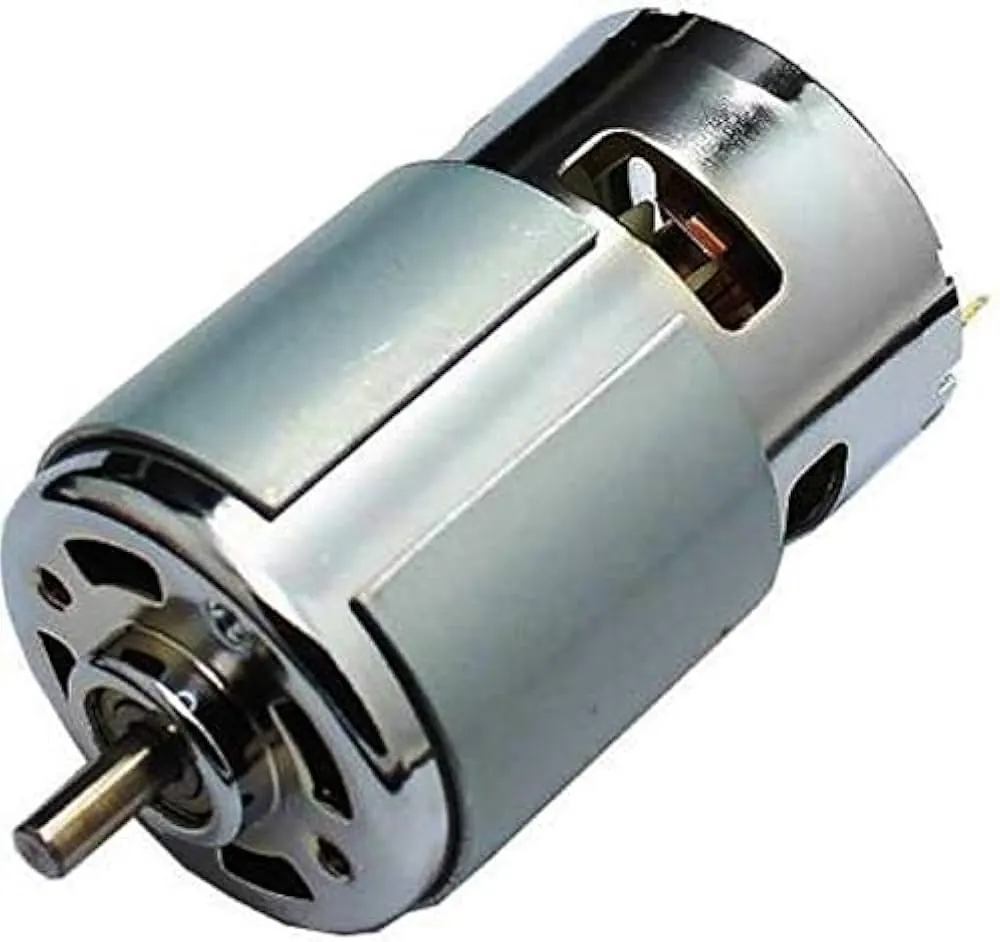 |
A DC motor operates on the principles of electromagnetism. Inside the motor housing, a set of wire coils, known as the armature, is positioned within the magnetic field created by a permanent magnet. When an electric current flows through these coils, they become electromagnets. The interaction between the magnetic field of the electromagnets and the field of the permanent magnets creates a force, described by Lorentz's Law, which causes the armature to rotate. A component called a commutator periodically reverses the direction of the current in the coils as the armature spins. This continuous reversal of the magnetic poles ensures that the rotational force, or torque, is maintained in a single direction, resulting in the steady rotation of the motor shaft. The speed of this rotation is proportional to the voltage applied, while the torque is proportional to the current flowing through the coils.
Motor Drivers
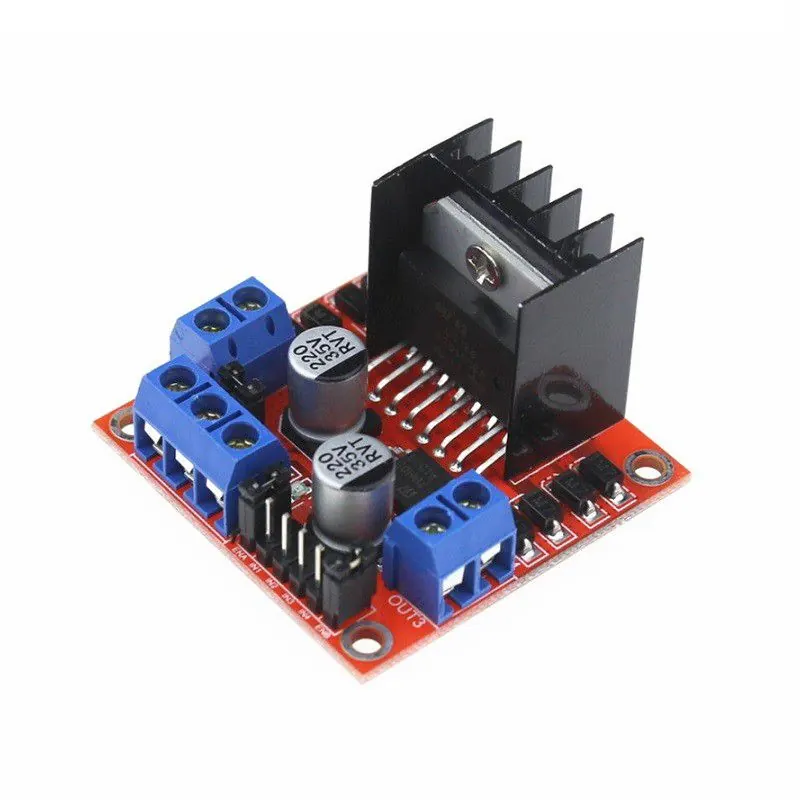
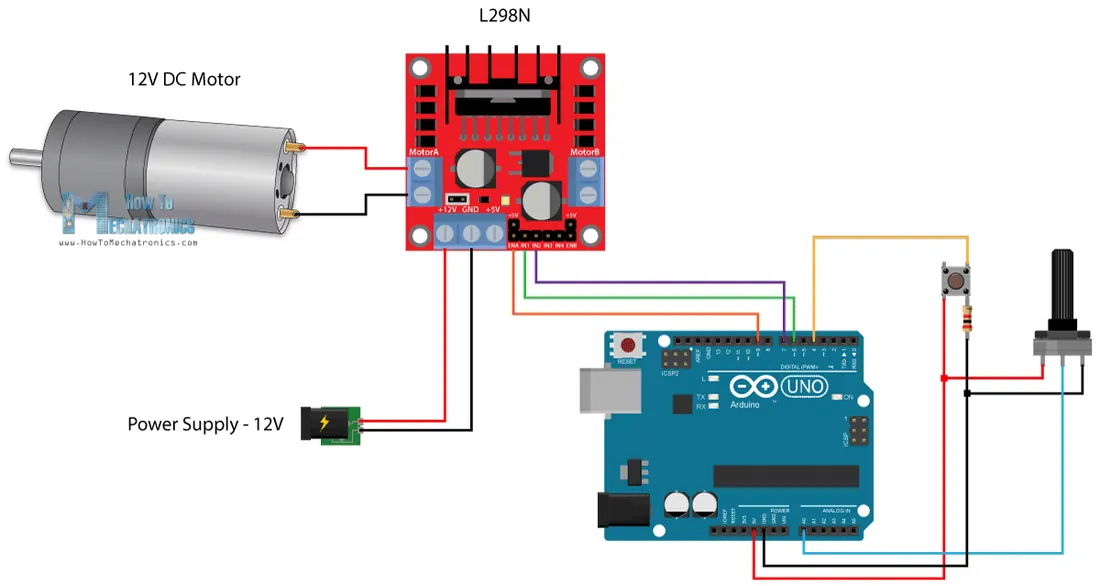
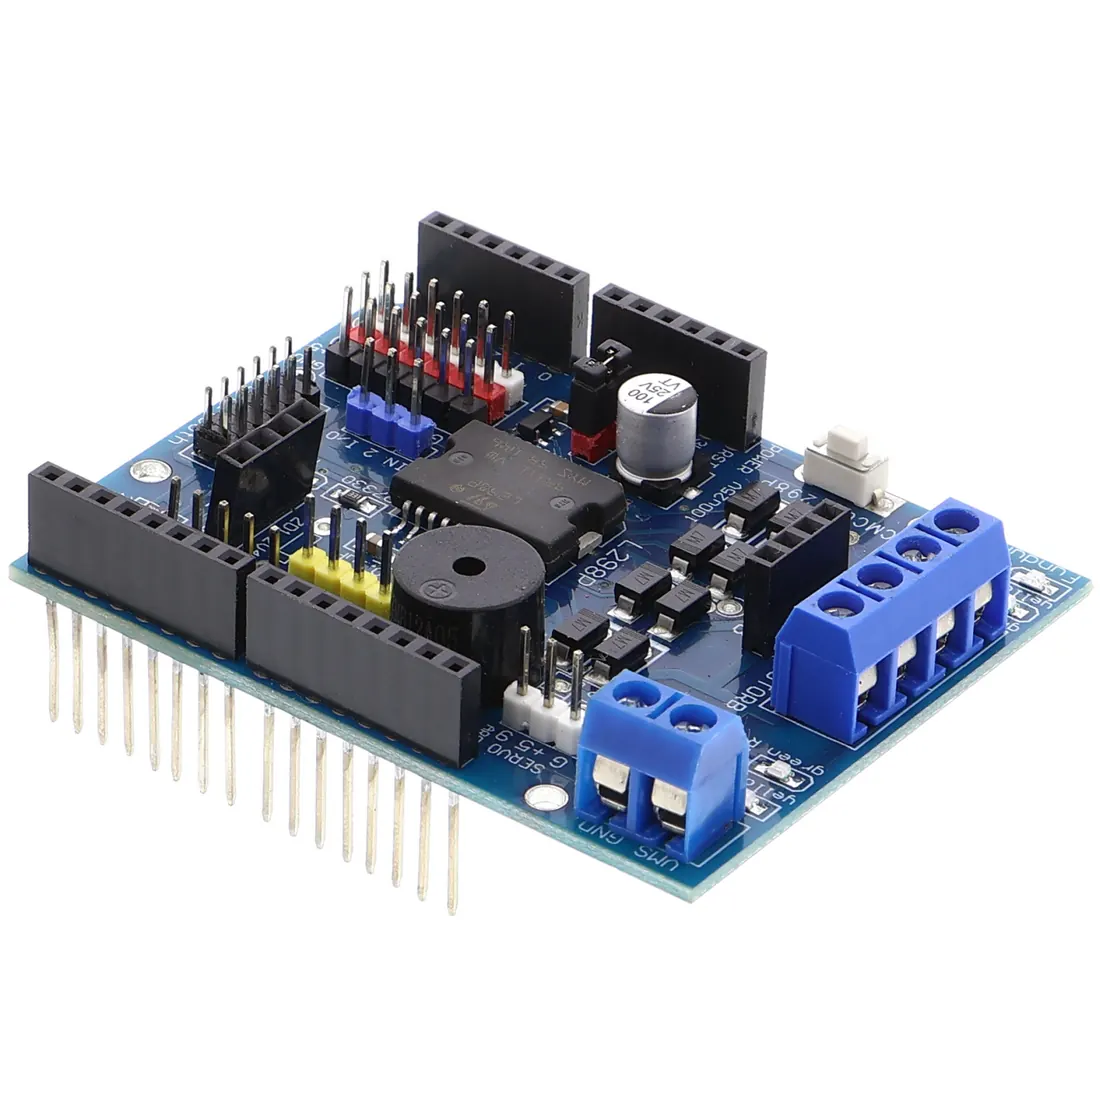
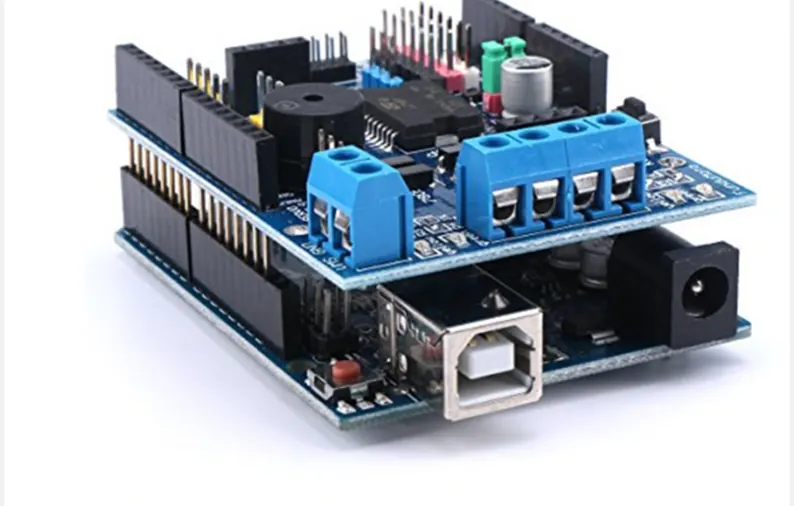
The output pins of an Arduino can supply only a small amount of current, typically up to 40 milliamps. Most DC motors require significantly more current to operate, often ranging from 250 milliamps to several amps. Attempting to power a motor directly from an Arduino pin can damage the board. A motor driver, such as the L298N module, acts as an intermediary. It uses a separate power source for the motor while accepting low-current control signals from the Arduino.
 |
 |
 |
 |
H-Bridge Circuitry
|
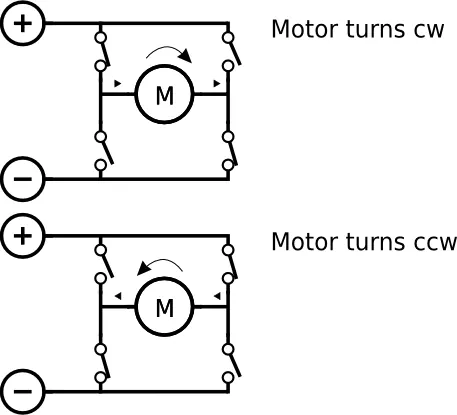
The L298N module contains an H-Bridge integrated circuit. An H-Bridge is an electronic circuit that allows a voltage to be applied across a motor in either direction, enabling both forward and reverse rotation. It uses a configuration of four switches (transistors) that can be opened and closed in specific pairs.
|
 |
Controlling with the L298N Module
|
The L298N module has several connection points. The motor is connected to the output terminals. A separate power supply, such as a battery pack, is connected to the module to provide the necessary current for the motor.
Control pins on the L298N are connected to digital pins on the Arduino.
|
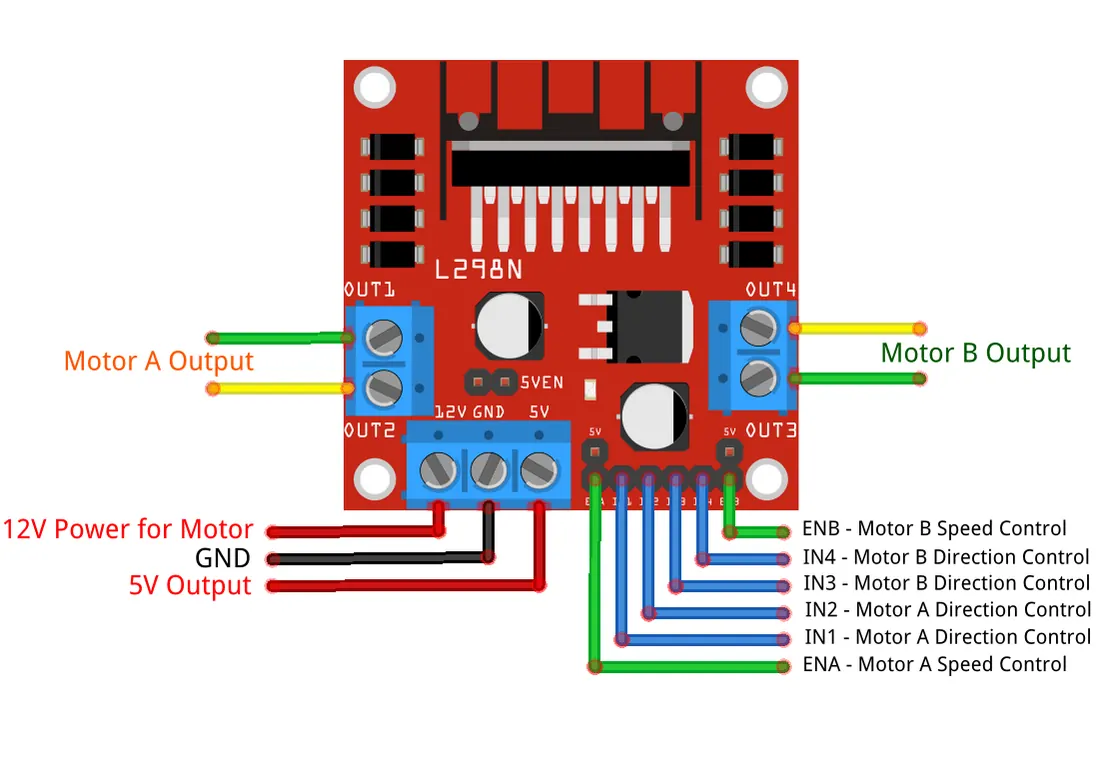 |
The speed of the motor is controlled using Pulse Width Modulation (PWM) on the enable pins (ENA, ENB) of the L298N. The Arduino's analogWrite() function sends a PWM signal to these pins. A higher duty cycle (a value closer to 255) results in a faster motor speed, while a lower duty cycle (a value closer to 0) results in a slower speed. This provides analog-like control of the motor's velocity using a digital signal.
The direction of the motor is controlled by setting the logic levels on two input pins (e.g., IN1 and IN2) for a single motor. Setting one pin HIGH and the other LOW will cause the motor to spin in one direction. Reversing this logic (LOW and HIGH) will spin the motor in the opposite direction. If both pins are set to the same logic level, the motor will stop. This method allows for digital control over the motor's rotational direction without changing the physical wiring.
 |
 |
Part 2: Software
Click image for simulation.
Exercise 1: Turning the Motor On
Learn to control the on/off state of a DC motor using a switch and an H-Bridge:
- Connect
Single Motor Control with Toggle
const int EN12 = ;
const int IN1 = ;
const int IN2 = ;
const int onOffButton = ;

int onOffSwitchState = 0;
int previousOnOffSwitchState = 0;
int motorEnabled = 0;

void setup() {
    pinMode(onOffButton, INPUT_PULLUP);
    pinMode(IN1, OUTPUT);
    pinMode(IN2, OUTPUT);
    pinMode(EN12, OUTPUT);

    // Start with motor disabled
    digitalWrite(EN12, LOW);
}

void loop() {
    onOffSwitchState = digitalRead(onOffButton);

    // Debounce
    delay(1);

    // Toggle motor state on button press (LOW = pressed with PULLUP)
    if (onOffSwitchState != previousOnOffSwitchState) {
        if (onOffSwitchState == LOW) {
            motorEnabled = !motorEnabled;
        }
    }

    if (motorEnabled == 1) {
        // Motor - Forward
        digitalWrite(IN1, HIGH);
        digitalWrite(IN2, LOW);
        digitalWrite(EN12, HIGH);
    } else {
        // Turn motor OFF
        digitalWrite(IN1, LOW);
        digitalWrite(IN2, LOW);
        digitalWrite(EN12, LOW);
    }

    previousOnOffSwitchState = onOffSwitchState;
}
Exercise 2
Objective: Learn to control the direction of the DC motor using buttons.
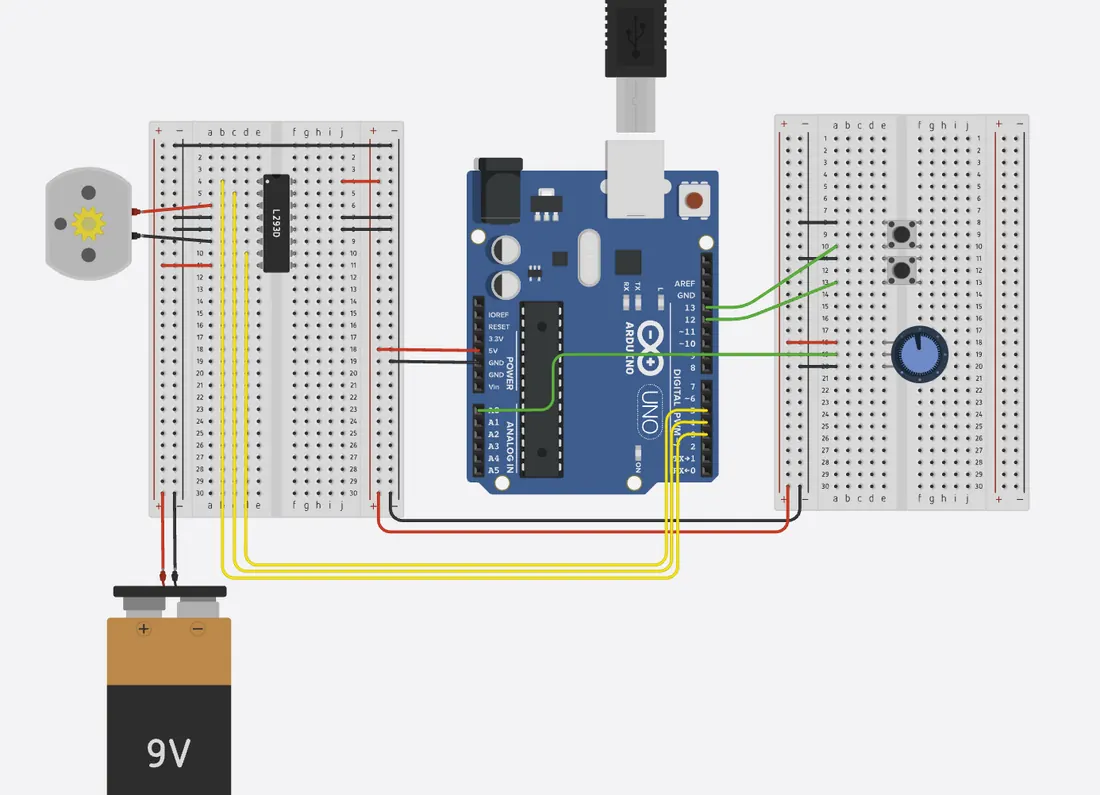
Copy the code below and paste it into Tinkercad, keep the connection of the first switch. Based on your understanding of the copied code, complete the connection of the second switch in the Tinkercad circuit diagram.
Objective: Learn to control the direction of the DC motor using buttons.
Copy the code below and paste it into Tinkercad, keep the connection of the first switch. Based on your understanding of the copied code, complete the connection of the second switch in the Tinkercad circuit diagram.
Motor Control with Direction Toggle
const int EN12 = ;
const int IN1 = ;
const int IN2 = ;
const int directionButton = ;
const int onOffButton = ;

int onOffSwitchState = 0;
int previousOnOffSwitchState = 0;
int directionSwitchState = 0;
int previousDirectionSwitchState = 0;

int motorEnabled = 0;
int motorDirection = 1; // 1 for forward, 0 for backward

void setup() {
    pinMode(directionButton, INPUT_PULLUP);
    pinMode(onOffButton, INPUT_PULLUP);
    pinMode(IN1, OUTPUT);
    pinMode(IN2, OUTPUT);
    pinMode(EN12, OUTPUT);

    digitalWrite(EN12, LOW); // Motor starts off
}

void loop() {
    onOffSwitchState = digitalRead(onOffButton);
    delay(1); // Debounce
    directionSwitchState = digitalRead(directionButton);

    // Toggle motor enable state (LOW = pressed with PULLUP)
    if (onOffSwitchState != previousOnOffSwitchState) {
        if (onOffSwitchState == LOW) {
            motorEnabled = !motorEnabled; // Toggle motor state
            digitalWrite(EN12, motorEnabled ? HIGH : LOW); // Activate or deactivate motor
        }
    }

    // Control motor direction (LOW = pressed with PULLUP)
    if (directionSwitchState != previousDirectionSwitchState) {
        if (directionSwitchState == LOW) {
            motorDirection = !motorDirection; // Toggle direction
        }
    }

    // Set motor direction
    if (motorDirection == 1) {
        digitalWrite(IN1, HIGH);
        digitalWrite(IN2, LOW);
    } else {
        digitalWrite(IN1, LOW);
        digitalWrite(IN2, HIGH);
    }

    previousDirectionSwitchState = directionSwitchState;
    previousOnOffSwitchState = onOffSwitchState;
}
Exercise 3
Objective: Learn to control the speed of the DC motor using a potentiometer.
Copy the code below and paste it into Tinkercad, keep the connection of the first and second switches. Based on your understanding of the copied code, complete the connection of the potentiometer in the Tinkercad circuit diagram.
Objective: Learn to control the speed of the DC motor using a potentiometer.
Copy the code below and paste it into Tinkercad, keep the connection of the first and second switches. Based on your understanding of the copied code, complete the connection of the potentiometer in the Tinkercad circuit diagram.
Motor Control with Speed & Direction
const int EN12 = ;
const int IN1 = ;
const int IN2 = ;
const int directionButton = ;
const int onOffButton = ;
const int potPin = ;

int onOffSwitchState = 0;
int previousOnOffSwitchState = 0;
int directionSwitchState = 0;
int previousDirectionSwitchState = 0;

int motorEnabled = 0;
int motorDirection = 1; // 1 for forward, 0 for backward
int motorSpeed = 0;

void setup() {
    pinMode(directionButton, INPUT_PULLUP);
    pinMode(onOffButton, INPUT_PULLUP);
    pinMode(IN1, OUTPUT);
    pinMode(IN2, OUTPUT);
    pinMode(EN12, OUTPUT);

    digitalWrite(EN12, LOW); // Motor starts off
}

void loop() {
    onOffSwitchState = digitalRead(onOffButton);
    delay(1); // Debounce
    directionSwitchState = digitalRead(directionButton);

    // Read potentiometer for speed control (0-1023 to 0-255)
    int potValue = analogRead(potPin);
    motorSpeed = map(potValue, 0, 1023, 0, 255);

    // Toggle motor enable state (LOW = pressed with PULLUP)
    if (onOffSwitchState != previousOnOffSwitchState) {
        if (onOffSwitchState == LOW) {
            motorEnabled = !motorEnabled; // Toggle motor state
        }
    }

    // Control motor direction (LOW = pressed with PULLUP)
    if (directionSwitchState != previousDirectionSwitchState) {
        if (directionSwitchState == LOW) {
            motorDirection = !motorDirection; // Toggle direction
        }
    }

    // Set motor direction and speed
    if (motorEnabled == 1) {
        if (motorDirection == 1) {
            digitalWrite(IN1, HIGH);
            digitalWrite(IN2, LOW);
        } else {
            digitalWrite(IN1, LOW);
            digitalWrite(IN2, HIGH);
        }
        analogWrite(EN12, motorSpeed); // Set speed using PWM
    } else {
        digitalWrite(IN1, LOW);
        digitalWrite(IN2, LOW);
        digitalWrite(EN12, LOW); // Motor off
    }

    previousDirectionSwitchState = directionSwitchState;
    previousOnOffSwitchState = onOffSwitchState;
}