Understanding Space Architecture
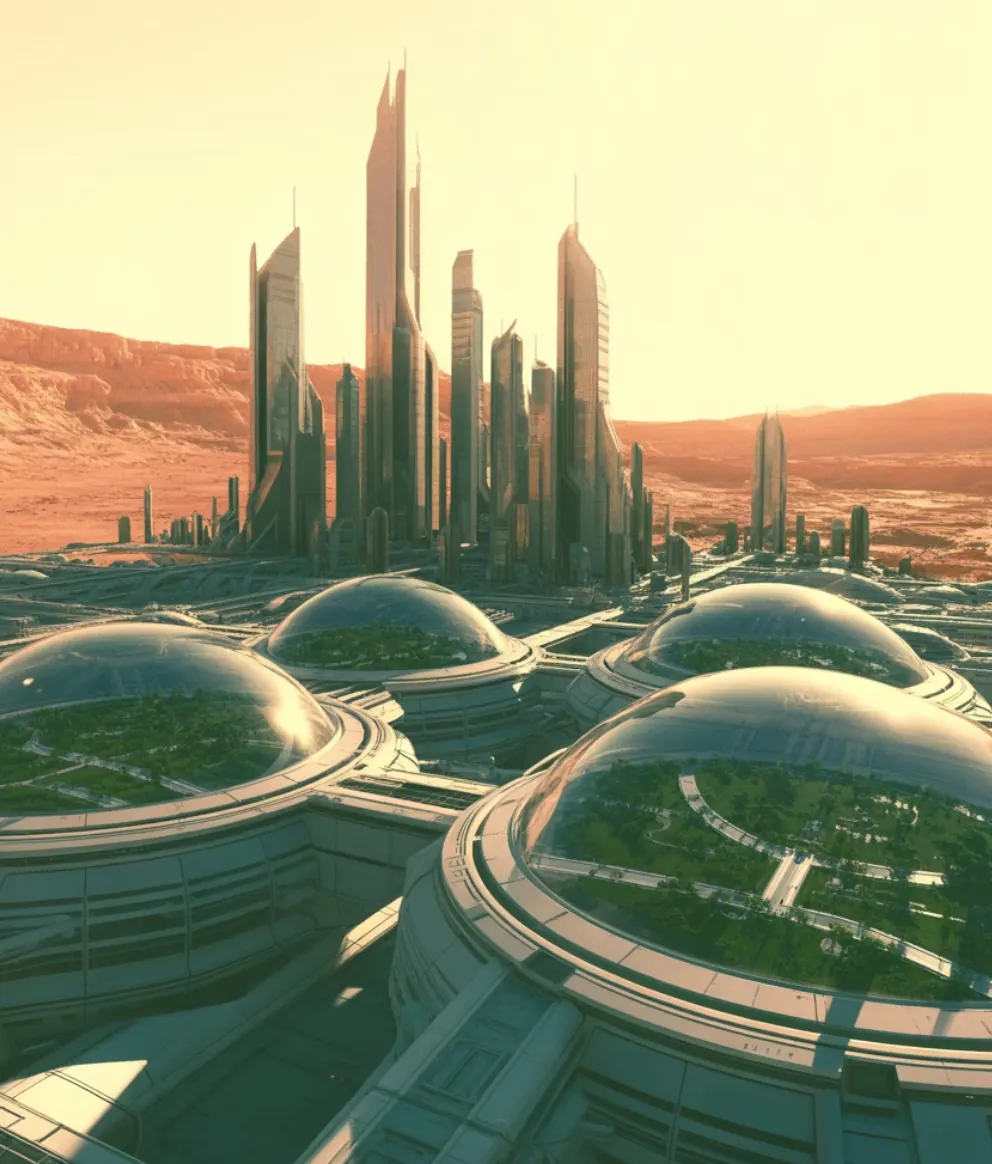
Space architecture requires special considerations that differ from Earth-based designs. For example, building designs meant for Mars or the Moon (or for a space city that will orbit around a planet) need to protect inhabitants from radiation, extreme temperatures, and low atmospheric pressure. This means sealed environments, rounded shapes to distribute pressure evenly, and thick walls or protective domes.
When designing your space city, think about functionality first. Every structure needs airlocks (entrances with double doors), reinforced walls, and transparent sections for natural light. Your Tinkercad models will incorporate these real architectural principles while letting your creativity shine through futuristic designs.
Here are some space architecture design suggestions:
When designing your space city, think about functionality first. Every structure needs airlocks (entrances with double doors), reinforced walls, and transparent sections for natural light. Your Tinkercad models will incorporate these real architectural principles while letting your creativity shine through futuristic designs.
Here are some space architecture design suggestions:
Tapered Towers
Draw a profile that's wider at the base and narrower at the top. This creates stability and an aerodynamic look. For example, if you plan to design a space architecture design building structure for Mars, then this would be a perfect design against dust storms.
 |
 |
 |
 |
Multi-Section Design
Create several cylindrical shapes with different widths and stack them. Each section can serve different functions—living quarters, labs, or observation decks.
  |
  |
Dome Integration
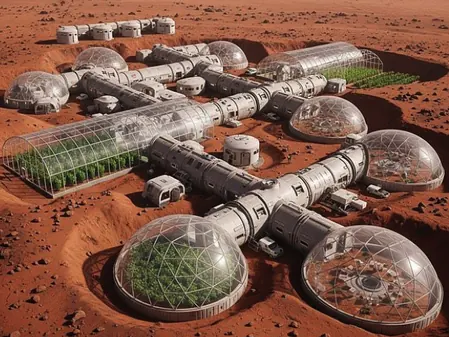
Add curved tops to your profiles to create protective domes. These can house gardens, recreational areas, or transparent observation zones.
  |
  |
Essential Hot Keys Before we learn the Revolve Sketch tool,
let's practice some important functions in Tinkercad. Navigation Controls You Need to Know:
- Right-click + drag to rotate your view around the model
- Scroll wheel to zoom in and out smoothly
- Shift + right-click + drag to pan across the workplane
- Press F to focus on selected objects instantly
The Extrude Sketch Tool
Access Sketch Tools: Click on the Workplane icon, then select "Sketch" from the dropdown menu. Choose "Extrude Sketch" to begin creating your building's footprint.
Use the 2D drawing tools to sketch the outline of your building. Click to place points to create a closed shape. Try rectangular bases for skyscrapers or hexagonal patterns for modular habitats.
Extrude Into 3D: Click "Done Sketching" and drag the height slider to pull your 2D shape into a 3D form.
Use the 2D drawing tools to sketch the outline of your building. Click to place points to create a closed shape. Try rectangular bases for skyscrapers or hexagonal patterns for modular habitats.
Extrude Into 3D: Click "Done Sketching" and drag the height slider to pull your 2D shape into a 3D form.
Creating Organic Forms with Scribble
The Scribble tool is perfect for creating flowing, futuristic shapes that can't be made with standard geometric forms. Use it for:
- Curved walkway connectors between buildings
- Aerodynamic observatory structures
- Custom landing pad designs
- Decorative architectural elements
Step-by-Step Process
- Select "Scribble" from the Sketch menu
- Draw your shape freely on the workplane—it will automatically close the path
- Adjust smoothness with the slider (higher = smoother curves)
- Click "Done Sketching" and set your extrusion height
- Rotate and position to create interesting architectural angles
The Secret to Windows and Doors: Using Holes
This is the most important technique for realistic buildings! Creating windows and doors requires understanding how solid shapes and hole shapes interact when combined.
1. Create Your Building: Start with your main structure as a solid shape. This could be an extruded rectangle for a skyscraper or any building form you've designed.
2. Add Window Shapes: Place Box shapes where you want windows. Position them so they overlap with your building walls. Scale them to your desired window size.
3. Convert to Holes: Select each window box and click the "Hole" option in the Inspector panel. The shape will become transparent with a gray striped pattern—this is now a hole.
4. Group to Union: Select both your building AND the hole shapes together (hold Shift and click each). Click "Group" or press Ctrl+G. The holes will cut through the solid, creating perfect window openings!
1. Create Your Building: Start with your main structure as a solid shape. This could be an extruded rectangle for a skyscraper or any building form you've designed.
2. Add Window Shapes: Place Box shapes where you want windows. Position them so they overlap with your building walls. Scale them to your desired window size.
3. Convert to Holes: Select each window box and click the "Hole" option in the Inspector panel. The shape will become transparent with a gray striped pattern—this is now a hole.
4. Group to Union: Select both your building AND the hole shapes together (hold Shift and click each). Click "Group" or press Ctrl+G. The holes will cut through the solid, creating perfect window openings!

Building Domes with Revolve Sketch
Revolve Sketch tool is your secret weapon for creating cylindrical and spherical architectural forms. It works by taking a 2D profile shape and rotating it 360 degrees around an axis, instantly generating complex 3D geometry.
This tool is perfect for space architecture because many efficient pressurized structures are based on rotational symmetry—think cylindrical towers, domed habitats, and rounded observation decks that evenly distribute structural stress.
The Revolve Sketch tool is essential for creating domed habitats—a staple of space architecture. Domes distribute atmospheric pressure evenly and provide maximum interior space with minimal materials, making them ideal for extraterrestrial colonies.
Whether you're designing towering habitats or innovative dome structures, you'll master the essential techniques that bring your space city visions to life.
This tool is perfect for space architecture because many efficient pressurized structures are based on rotational symmetry—think cylindrical towers, domed habitats, and rounded observation decks that evenly distribute structural stress.
The Revolve Sketch tool is essential for creating domed habitats—a staple of space architecture. Domes distribute atmospheric pressure evenly and provide maximum interior space with minimal materials, making them ideal for extraterrestrial colonies.
Whether you're designing towering habitats or innovative dome structures, you'll master the essential techniques that bring your space city visions to life.
1. Draw Your Profile: Select "Revolve Sketch" and draw half of your dome's cross-section—usually a curved line from the center point outward. Think of it as drawing the outline you'd see if you sliced the dome in half.
2. Set Revolution Angle: Choose 360 degrees for a complete dome or less for partial structures like quarter-sphere observation decks.
3. Refine and Scale: Adjust the size to fit your base structure.
2. Set Revolution Angle: Choose 360 degrees for a complete dome or less for partial structures like quarter-sphere observation decks.
3. Refine and Scale: Adjust the size to fit your base structure.