The micro:bit Hardware
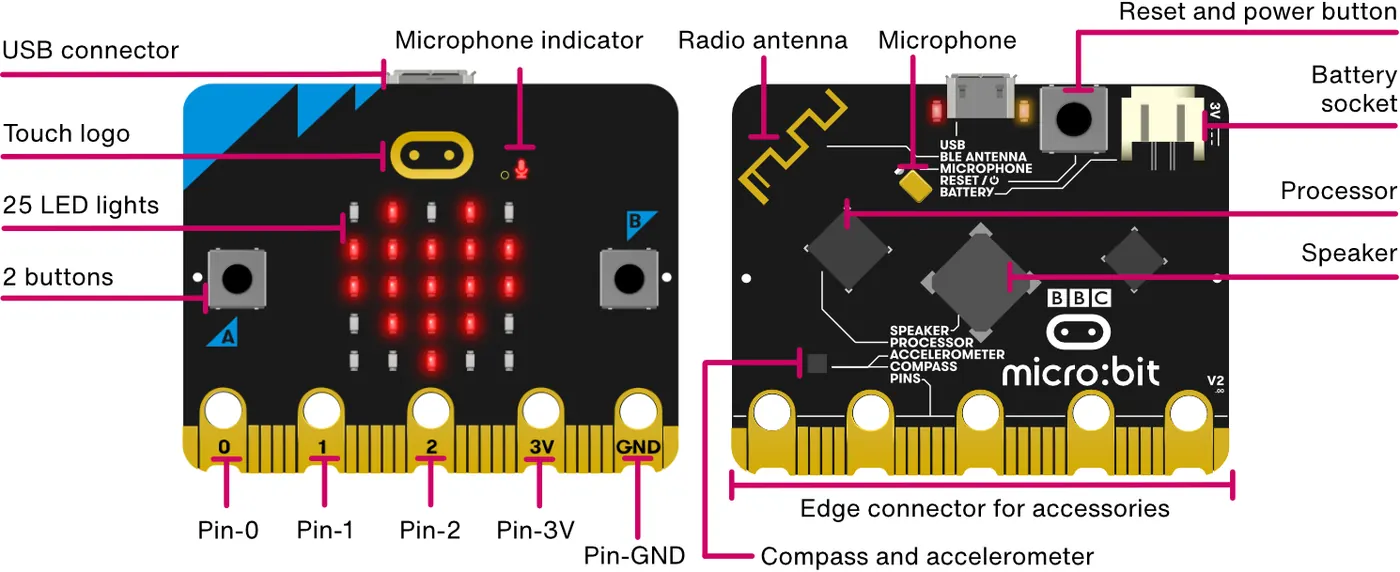
The micro:bit is a small programmable device designed for educational use. Its compact board contains several hardware components that can be programmed to interact with the physical world.
On the front, you will find a 5x5 grid of red LED lights that can display patterns, numbers, or text. Right next to the LED grid are two programmable buttons labeled A and B. The reverse side of the board contains additional features including a processor, various sensors, and input/output pins. These sensors can detect motion, measure temperature, and sense light levels, providing multiple ways for the device to gather information from its environment.
On the front, you will find a 5x5 grid of red LED lights that can display patterns, numbers, or text. Right next to the LED grid are two programmable buttons labeled A and B. The reverse side of the board contains additional features including a processor, various sensors, and input/output pins. These sensors can detect motion, measure temperature, and sense light levels, providing multiple ways for the device to gather information from its environment.
The MakeCode Programming Environment
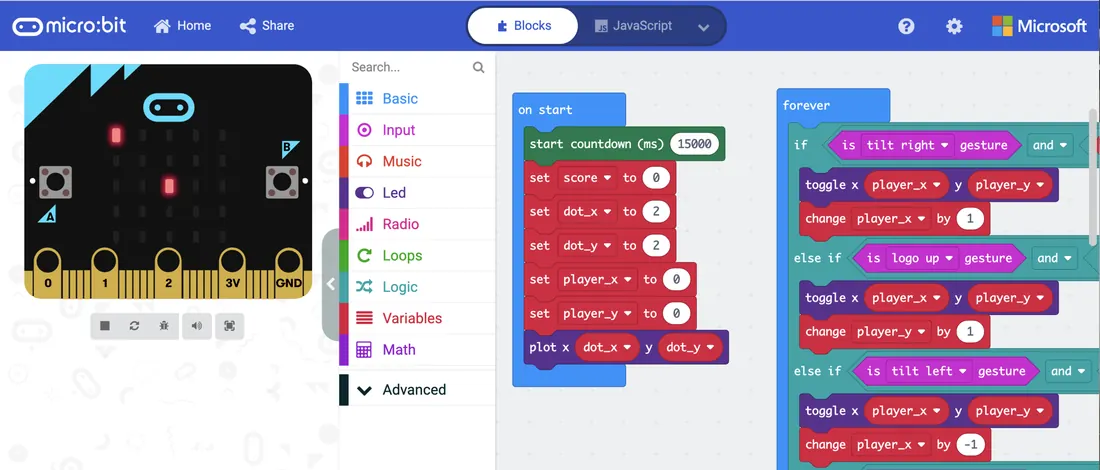
Microsoft MakeCode provides a web-based platform for programming the micro:bit. This editor uses both block-based and text-based programming approaches. The block-based interface allows you to create programs by snapping together visual code blocks that represent programming concepts. The workspace is divided into several areas: a block palette at the centre containing coding categories, a workspace on the right where programs are assembled, and a simulator on the left that shows how your program will behave on a virtual micro:bit.
Things to note:
Things to note:
- Use Google Chrome as your browser.
- Do not use Safari for it is incompatible with MakeCode.
Creating Your Account
|
 |
Naming Your New Program
Start a new file by clicking New Project.
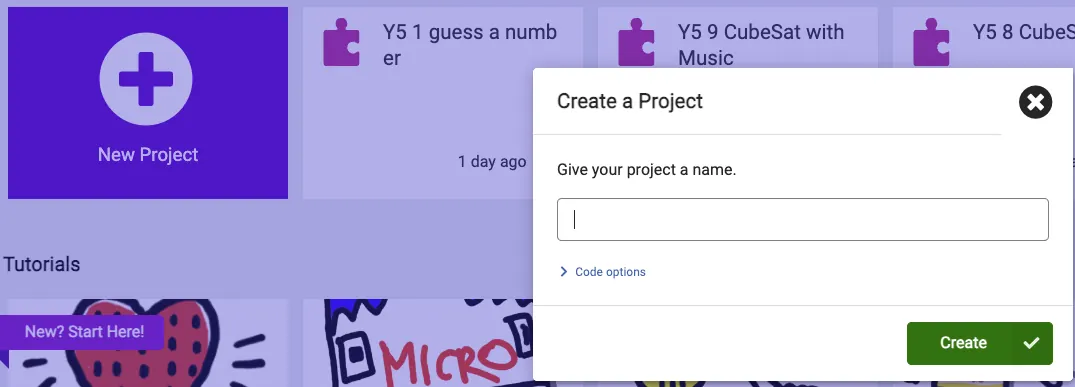
[Class]_[ClassNumber]_[PreferredName]_[ProjectName]
Follow the format above when naming projects. (For example: 5AZ_1_AbbyChan_HeartBeat)
Things to note:
Things to note:
- No spaces: Replaces spaces with underscores.
- New words start with Capital letter.
Activity 1: HeartBeat
 |
To begin programming, you can drag code blocks from the palette to the workspace.
A common first program uses the "on start" and "forever" blocks to control when actions occur. The "show string" block can display scrolling text on the LED grid, while the "show icon" block displays predefined images. |
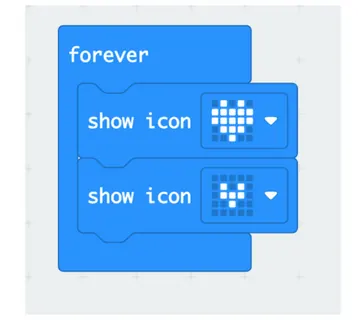 |
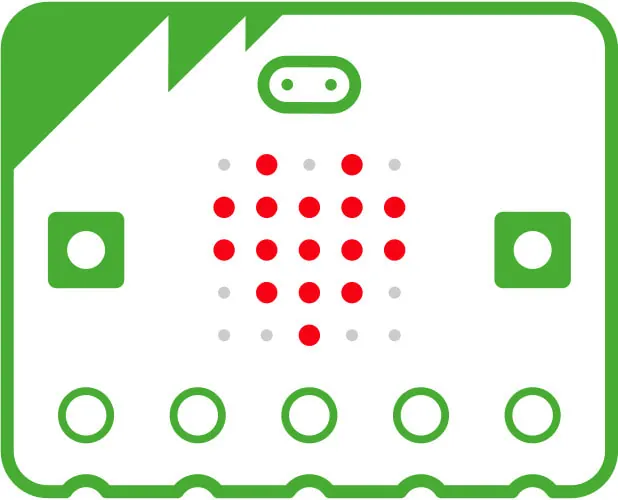
Notice that the animation changes quickly. Challenge: How can you modify this code for the big heart to pause for a moment before changing into a small heart (and vice versa)? You have 5 minutes to figure this out! |
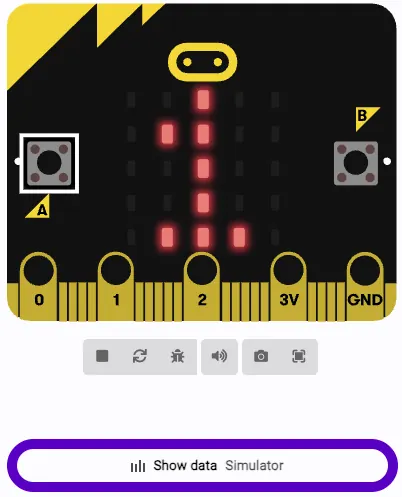
Test your code digitallyThe simulator allows you to test your program immediately by clicking virtual buttons and observing the LED display, helping verify that the program behaves as expected before transferring it to the physical device.
|
 |
Connect and Download the Program
 |
 |
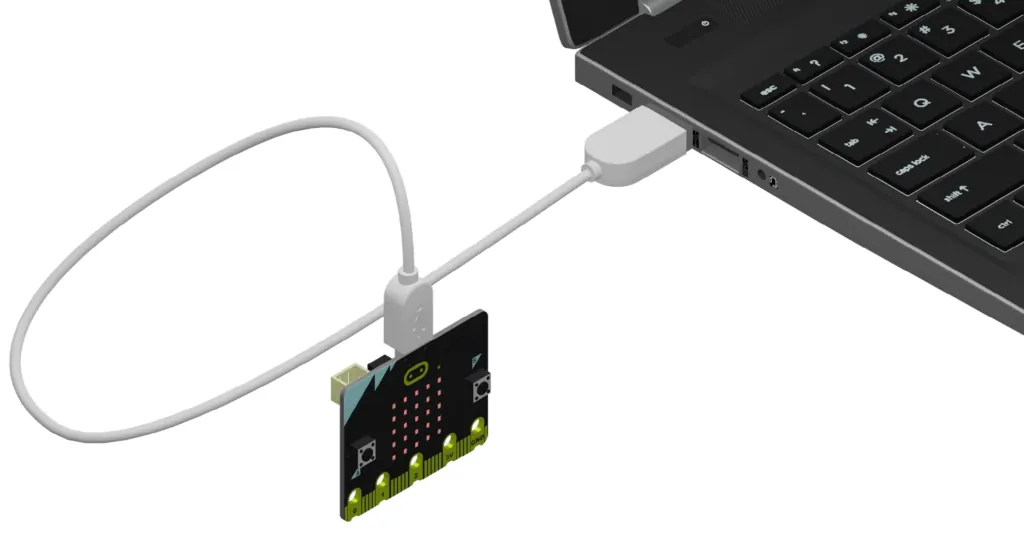
- Connect the micro:bit to your computer using a USB cable and a adaptor if needed
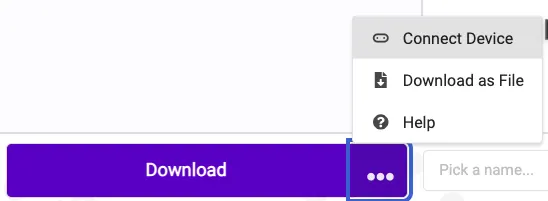
- Click Connect Devices
- Click Pair
- Select your micro:bit and click ok
- Click Download
Activity 2: ShakeForPattern
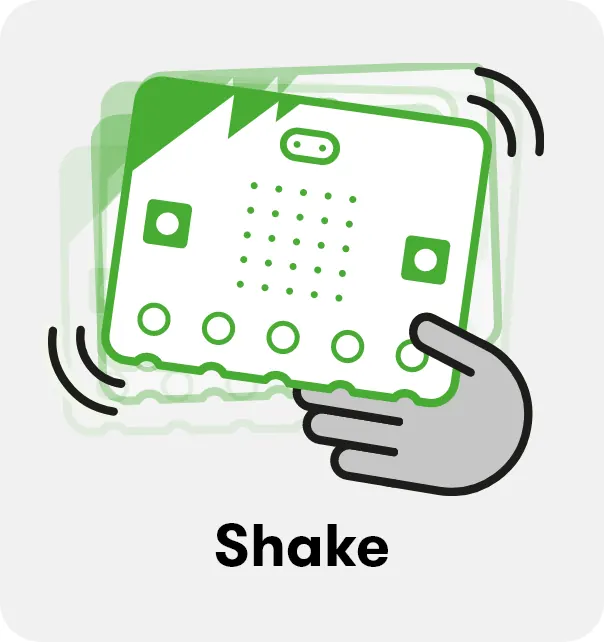 |
One of the most popular input methods is Shake. It uses the accelerometer to detect changes in acceleration as the user shake the device. Try using it to trigger a pattern change.
|
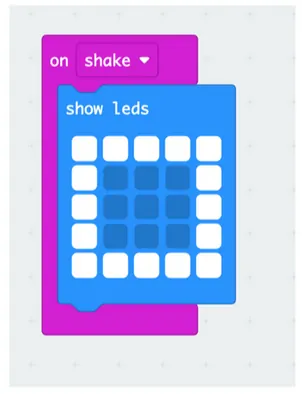 |
When you shake the Micro:bit, then you get this LED light visual sign. Try this first! (3 minutes to test!) Challenge: Now create a new code:
|
Activity 3: PressingButtons
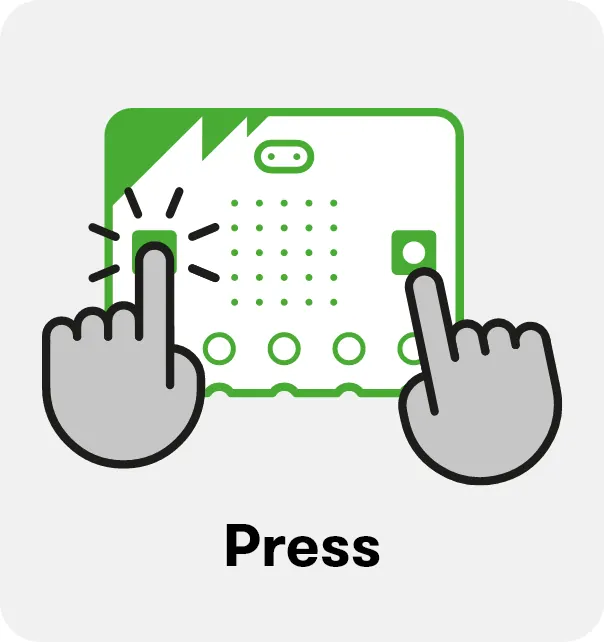 |
The code below uses button A as input to trigger a series of actions. The pause (ms) command will let the previous command last for a specified amount of time, before moving on to the next task.
|
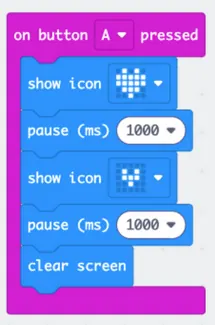 |
ONE TIME animation: Try this first! (2 minutes to test!) Challenge: Now create additional new codes:
You have 5 minutes to figure this out! |
Activity 4: AmIBalance?
 |
Serial monitor is an important tool for displaying information. It does not used the LEDs on the micro:bit, instead, it displays the data on your computer.
|
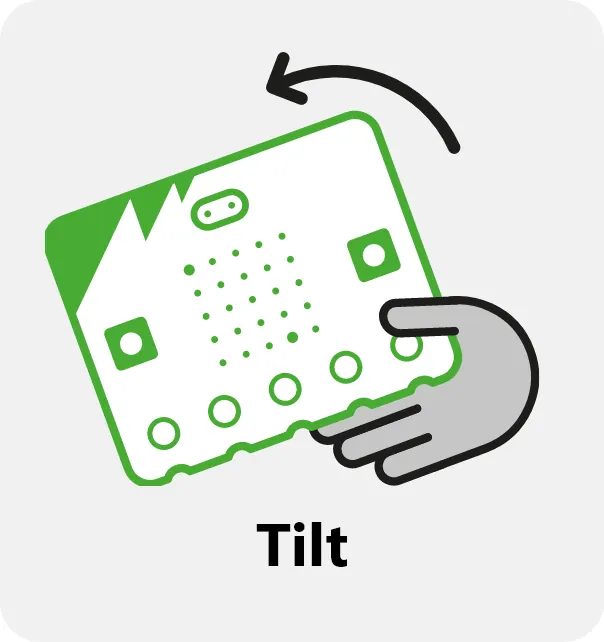
The micro:bit can measure movement through an accelerometer located on the back of the micro:bit - allowing it to detect if you shake, tilt or move the micro:bit in any direction. Many modern electronic devices have accelerometers built-in - including mobile phones, game controllers, and car sensors.
Acceleration is the change in speed over a given amount of time - for example, it may take a sports car 3 seconds to accelerate from 0 to 60 miles-per-hour. The micro:bit can measure acceleration in any direction using a capacitor which stores and measures electrical energy.
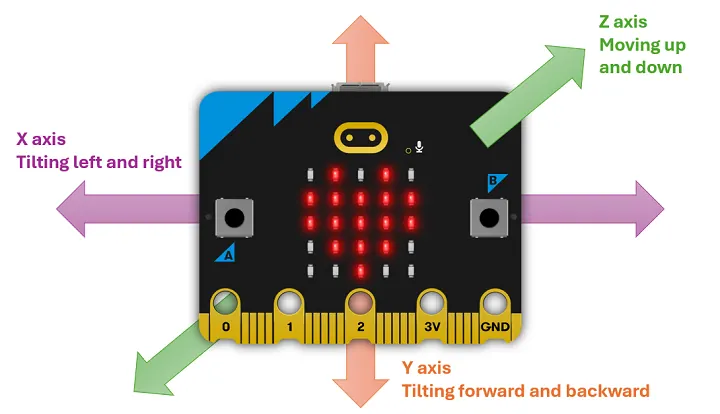
The micro:bit measures Acceleration along 3 dimensions:
Acceleration is the change in speed over a given amount of time - for example, it may take a sports car 3 seconds to accelerate from 0 to 60 miles-per-hour. The micro:bit can measure acceleration in any direction using a capacitor which stores and measures electrical energy.
The micro:bit measures Acceleration along 3 dimensions:
- X-axis (tilting left and right)
- Y-axis (tilting forward and backward)
- Z-axis (moving up and down)
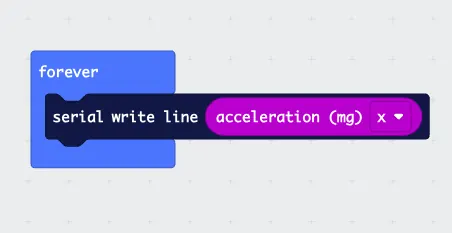 |
Use the on board accelerometer to detect how balance are you. Challenge: The code on the left shows acceleration in only one direction. Are you able to show the acceleration in all 3 directions? Try displaying the information on the serial monitor. |