Install the Wheel Assemblies
In the previous chapters, we built the main body of our Cutebot Rover. Now we will add the left and right wheels to the main body. These steps will transform your Cutebot into a model that looks like a real planetary rover.
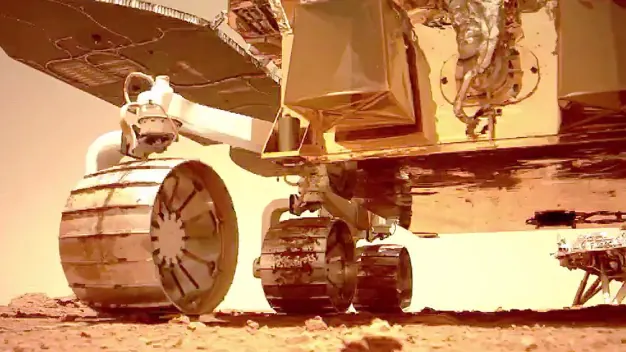
Real rovers such as Yutu and Zhurong are designed with special parts to handle various environments. To travel across the surface of the Moon or Mars, a rover needs a good set of wheels. We will now attach the wheel assemblies to the sides of our rover's body. The wheels help them travel over rocky surfaces. You will now add these important features to your own rover.
Real rovers such as Yutu and Zhurong are designed with special parts to handle various environments. To travel across the surface of the Moon or Mars, a rover needs a good set of wheels. We will now attach the wheel assemblies to the sides of our rover's body. The wheels help them travel over rocky surfaces. You will now add these important features to your own rover.
E. Understanding Hooks and Loops Fastening Tape
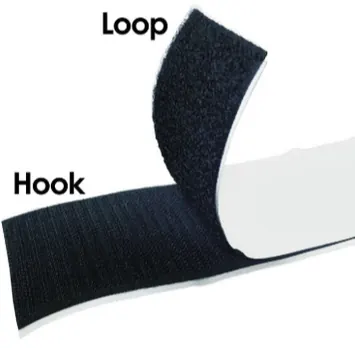
To attach the wheels, we will use a special fastener called "hooks and loops" tape. This tape works in pairs. You will find one part of the tape has a rough, spikey surface (these are the "hooks"), and the other part has a soft, fuzzy surface (these are the "loops").
The spikey side is designed to stick firmly to the soft side. To use it correctly, you must always stick one type of surface to the wheel assembly and the other type of surface to the rover's body. When you press them together, the tiny hooks catch onto the soft loops, creating a strong connection that holds the wheels securely in place.
For each wheel, prepare a pair of hooks and loops fastening tape to a length of about 3 inches. (7-8 centimetres long)
The spikey side is designed to stick firmly to the soft side. To use it correctly, you must always stick one type of surface to the wheel assembly and the other type of surface to the rover's body. When you press them together, the tiny hooks catch onto the soft loops, creating a strong connection that holds the wheels securely in place.
For each wheel, prepare a pair of hooks and loops fastening tape to a length of about 3 inches. (7-8 centimetres long)
F. Attach the Tape and Wheels
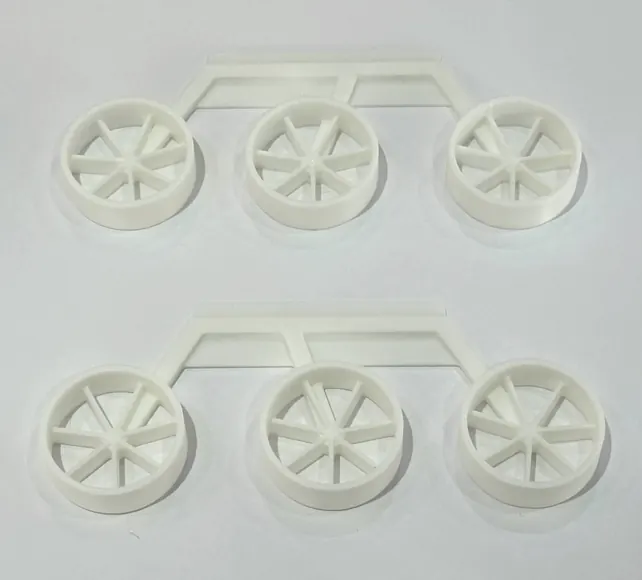
Find the two white plastic wheel assemblies in your kit. Notice that the two parts are slightly different, but it does not matter which one goes on which side of the rover. Begin by attaching the hooks and loops fastening tape to the right wheel first, then the left wheel.
First, stick one type of tape (for example, the rough "hooks" side) to the back of the wheel assemblies. Then, stick the other type of tape (the soft "loops" side) onto the sides of your Cutebot's body shell. Finally, carefully align and press the wheel assemblies onto the sides of the rover. The hooks and loops will lock together and hold the wheels firmly.
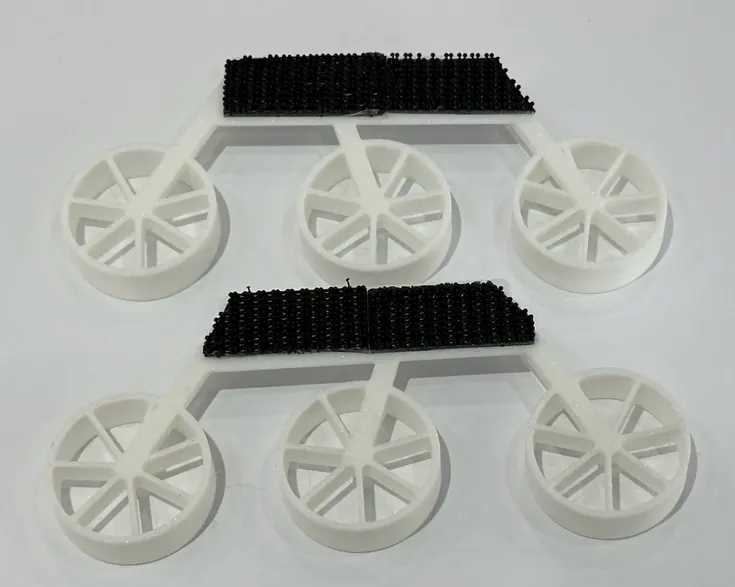
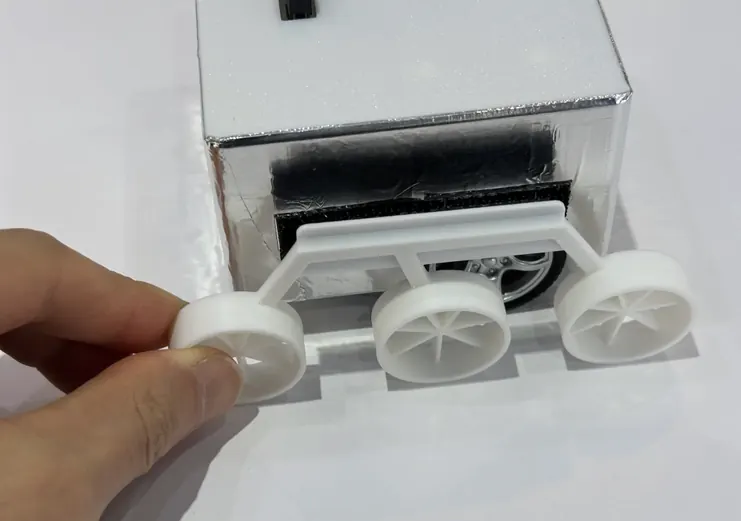
Make sure that the left and right plastic wheels are slightly floating above the floor level. This is because these wheels cannot spin. The Cutebot's real wheels, which will be hidden inside the body shell, will be the actual wheels your rover will use to navigate the terrain.