C. Installing the Ultrasonic Sensor Extender
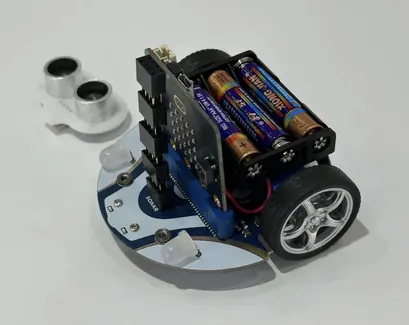
The ultrasonic sensor is the "eyes" of your rover, helping it detect objects. We need to modify it so it can fit inside our new rover shell.
1. Remove the Ultrasonic Sensor
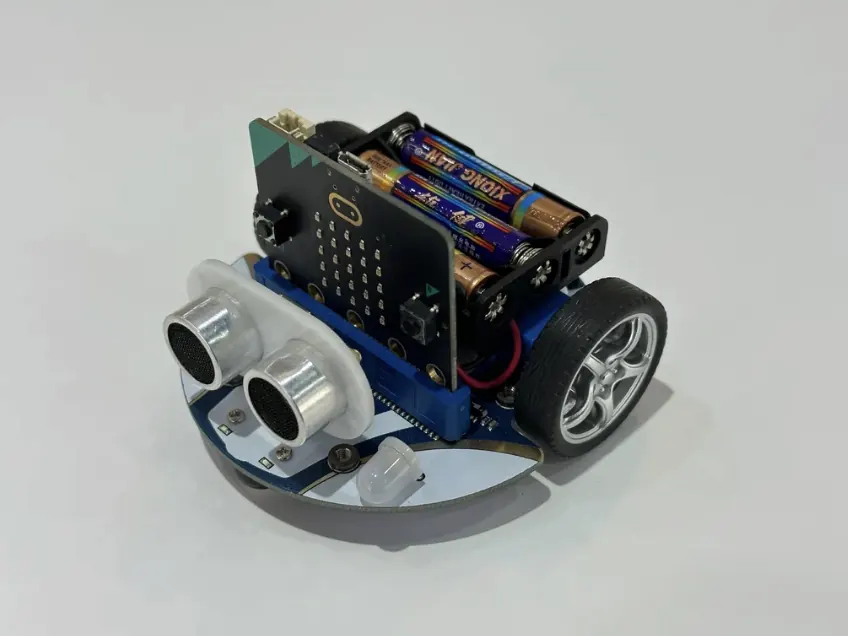
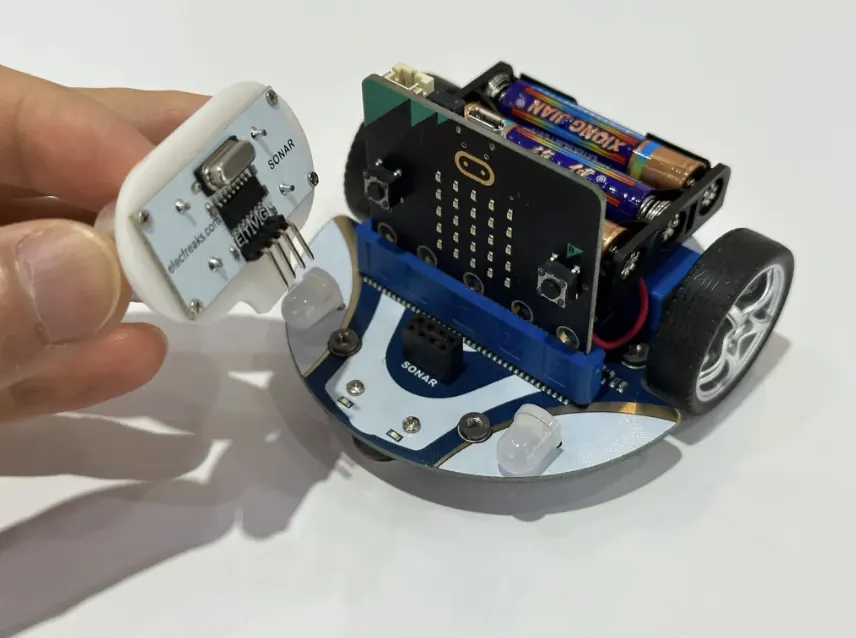
Gently pull the white ultrasonic sensor module out from the front of your Cutebot. The sensor is connected to the chassis by four pins, so gently pull it straight out.
1. Remove the Ultrasonic Sensor
Gently pull the white ultrasonic sensor module out from the front of your Cutebot. The sensor is connected to the chassis by four pins, so gently pull it straight out.
2. Plug in the Sensor Extender
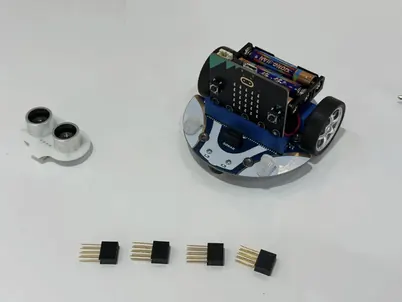
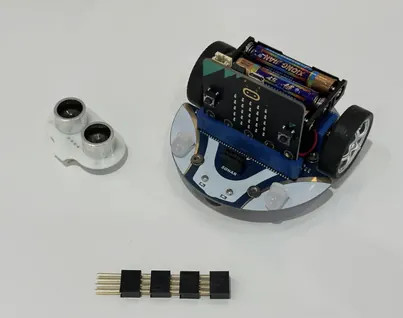
Take four small black pin header extenders. Plug the four extenders into the socket where the ultrasonic sensor used to be. Then, plug the ultrasonic sensor into the top end of the extender. This makes the sensor "taller" so it can see out of the new shell.
Take four small black pin header extenders. Plug the four extenders into the socket where the ultrasonic sensor used to be. Then, plug the ultrasonic sensor into the top end of the extender. This makes the sensor "taller" so it can see out of the new shell.
D. Preparing the Rover "Hats" with Solar Panels
The top part of our rover is called a "hat." You have two different designs to choose from, inspired by the Yutu and Zhurong rovers. To make them look realistic, we will add stickers that look like solar panels. Real space rovers use solar panels to capture energy from the Sun to power their instruments and move around.
1. Identify the Hat and Sticker Parts
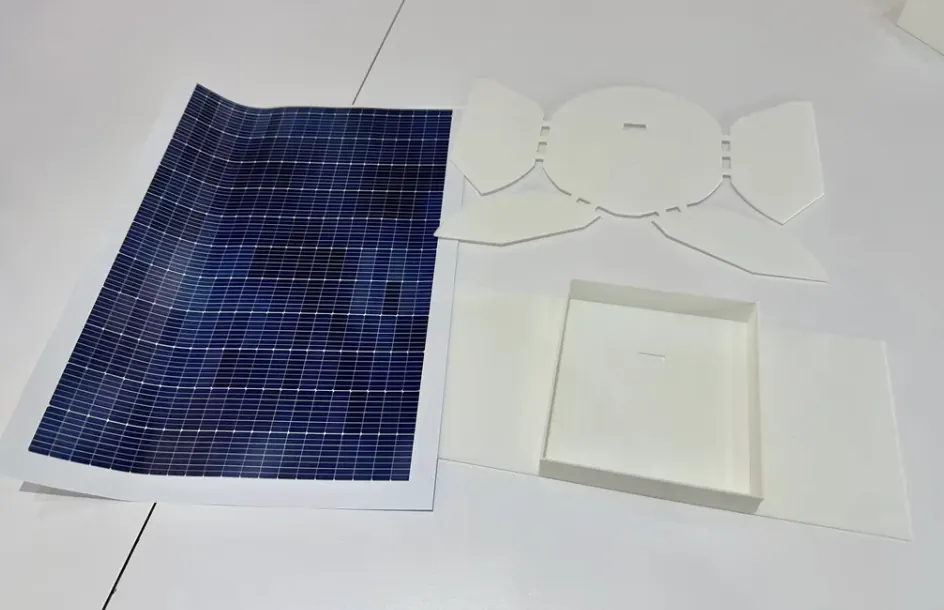
In your kit, find the flat, white cutouts for the rover hats and the sheets of solar panel stickers.
2. Apply the Stickers
Carefully peel the solar panel stickers and apply them to the corresponding sections of the hat cutouts. Take your time to align them properly.
1. Identify the Hat and Sticker Parts
In your kit, find the flat, white cutouts for the rover hats and the sheets of solar panel stickers.
2. Apply the Stickers
Carefully peel the solar panel stickers and apply them to the corresponding sections of the hat cutouts. Take your time to align them properly.
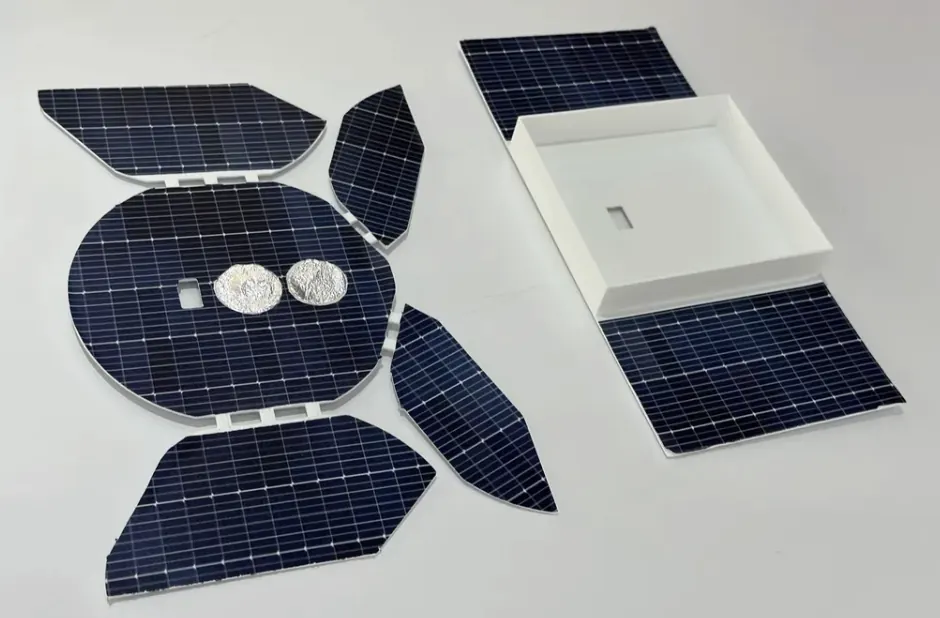
You can decide whether your rover's hat is completely covered with solar panels or, instead, creatively design only specific areas to be covered. This is a chance for you to be a design engineer and think about how your rover might use its power. For example, perhaps only the top surfaces that get the most sunlight are covered. Once all the sticker pieces are attached, your rover hat will appear to be covered in solar cells, just like a real space rover.