From Planetary Exploration to a Classroom Project
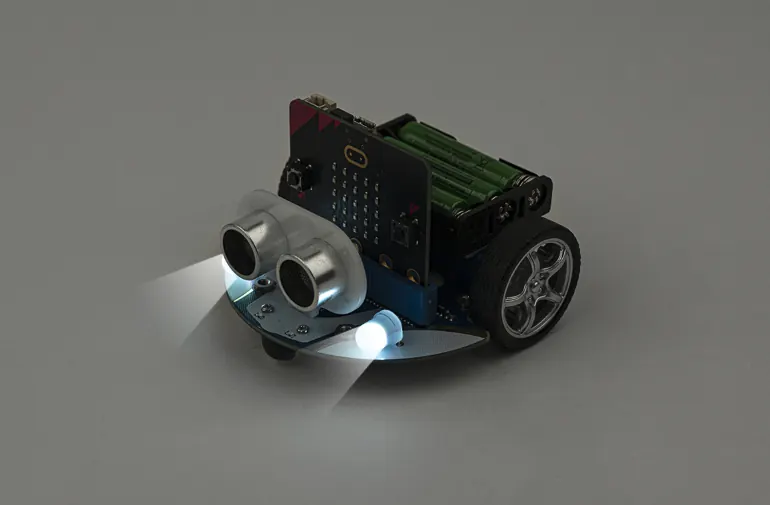
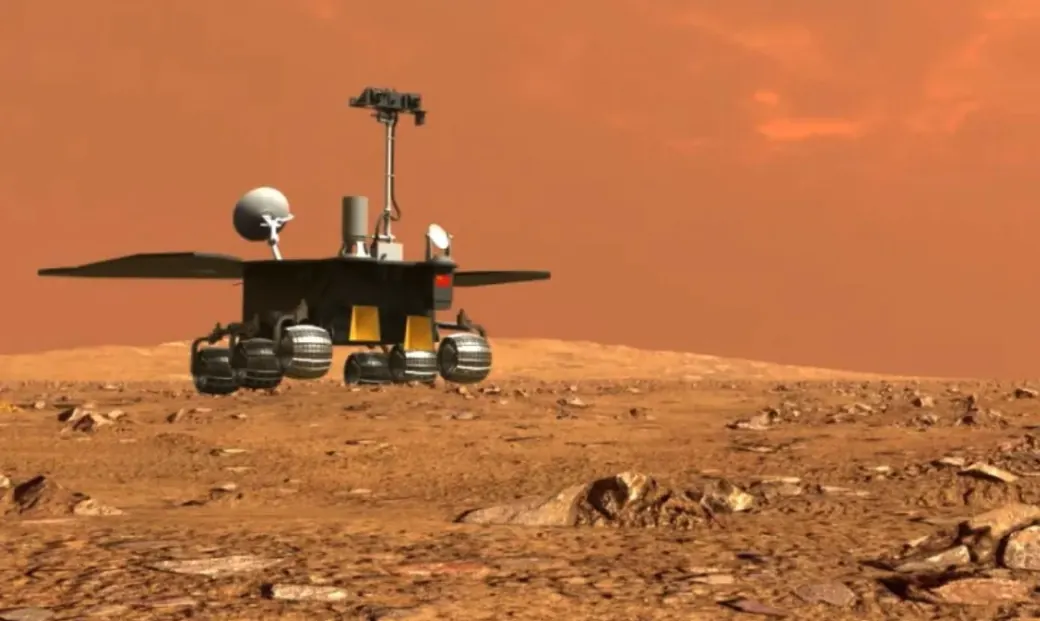
Robotic explorers like China’s Zhurong rover and NASA’s Curiosity and Perseverance rovers travel across Mars. They collect data and navigate difficult landscapes. This engineering work inspires new creations. Now, a similar process of design and programming can happen in the classroom. In this final unit, which concludes with a Capstone Project. The Cutebot will serve as the 'rover' for all of the activities. The Cutebot is a small, programmable robot car. It serves as an introduction to the principles of robotics and programming.
Introduction to the Cutebot
The ELECFREAKS Cutebot (version EF08209) is a rear-drive smart car driven by dual high-speed motors. It is a robotic rover designed to accomplish simple signaling and navigation tasks. Understanding its parts is the first step to operating it.
- Micro:bit Slot: The Cutebot is controlled by a BBC micro:bit, a pocket-sized computer with a 5×5 LED display, two buttons, and a radio. The micro:bit is inserted into the car, acting as its brain to process code and control all functions.
- Ultrasonic Sensors: This component allows the robot to detect objects. It sends out sound waves and measures the time it takes for them to bounce back, calculating the distance to an obstacle. This tells the robot how far away an obstacle is — useful for stopping before hitting a wall.
- Motors and Wheels: The Cutebot has two powerful rear-drive motors that allow it to move and turn. The speed difference between the left and right wheels controls the direction of the car. This lets the robot turn left, turn right, go straight, or even spin in a circle — just like the six wheels on NASA's Curiosity rover that can each be steered separately.
- Chassis: The main body of the car has a compact, arc-shaped design that holds all the components.
- Battery Holder: The robot is powered by three AAA batteries (or it could be outfitted with an expansion board that can be powered by a single larger rechargeable battery), which are placed in a separate battery holder connected to the main chassis.
- Other On-board Equipment: The Cutebot also includes features like two RGB LED headlights. On a real rover, lights help cameras capture images in dark craters or shadowed terrain. it also has other built-in equipment such as line-tracking sensors (This is how the robot can follow a line on the floor by itself.), and a buzzer that can act as a horn.
Assembling the Cutebot Rover
Minimal assembly is required for the Cutebot. The process involves 4 main steps:
1. Install Batteries: Insert three AAA batteries (or a single larger rechargeable battery) into the battery holder, making sure the polarity is correct.
2. Connect the Micro:bit: The micro:bit board slides into the slot at the rear of the Cutebot. The side with the LED matrix should face outward.
3. Attach the Ultrasonic Sensor: The ultrasonic sensor module connects to the designated port at the front of the car.
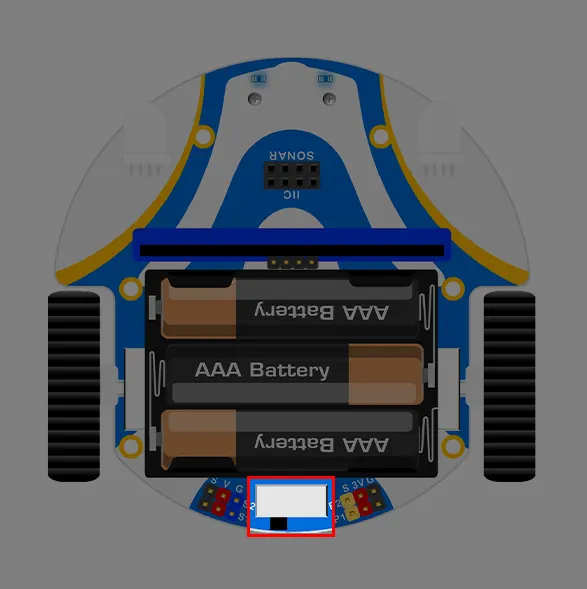
4. Power On: Turn on the master switch which is located besides the infrared probes and with on/off status showing by the LED.
1. Install Batteries: Insert three AAA batteries (or a single larger rechargeable battery) into the battery holder, making sure the polarity is correct.
2. Connect the Micro:bit: The micro:bit board slides into the slot at the rear of the Cutebot. The side with the LED matrix should face outward.
3. Attach the Ultrasonic Sensor: The ultrasonic sensor module connects to the designated port at the front of the car.
4. Power On: Turn on the master switch which is located besides the infrared probes and with on/off status showing by the LED.
Creating Your Account
Creating Your Account
|
 |
Naming Your New Program
Start a new file by clicking New Project.
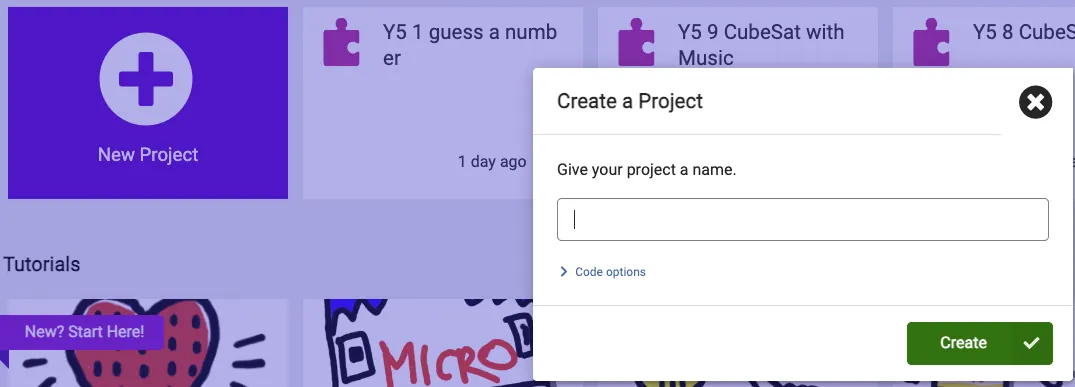
[Class]_[ClassNumber]_[PreferredName]_[ProjectName]
Follow the format above when naming projects. (For example: 5AZ_1_AbbyChan_HeartBeat)
Things to note:
- No spaces: Replaces spaces with underscores.
- New words start with Capital letter.
Cutebot Codebase Extension Requirement
Before the start of the coding process, you need to unlock and activate the necessary Cutebot coding blocks:
1. Click the "Extensions" to see more choices in the MakeCode drawer.
1. Click the "Extensions" to see more choices in the MakeCode drawer.
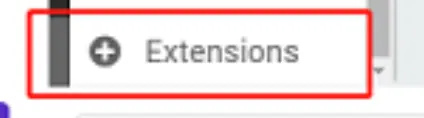
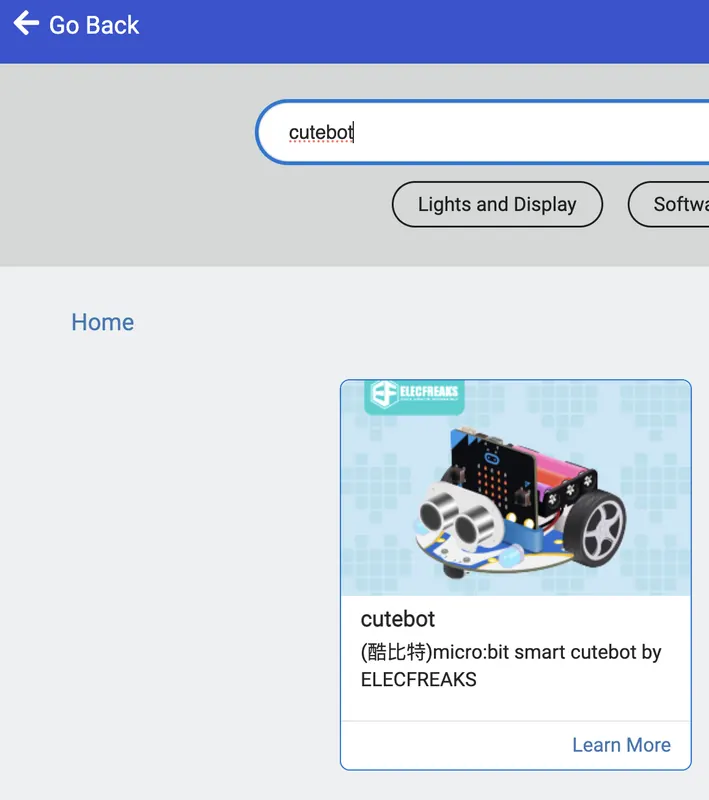
2. Type "Cutebot" in the search bar and activate the 'Cutebot' on the left (Do not choose Cutebot-Pro).
Activity 1: Run at Random Directions
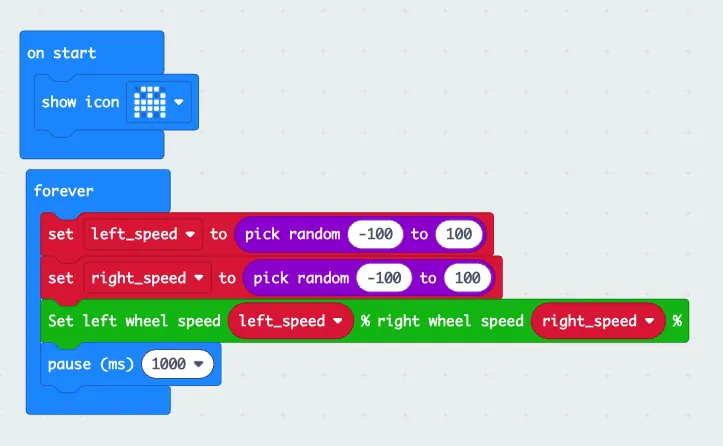 |
You will now code the Cutebot to move randomly in any direction (move forward, reverse, or change direction).
1. In the blue "Basic" drawer, choose "show icon" and place it inside the "on start" brick. 2. Go to the red "Variables" drawer. Make 2 new variables: "left_speed" and "right_speed". Drag left_speed and right_speed variable bricks into the "forever" brick to set a speed at random from -100 to 100 of the two wheels. The "pick random" brick can be found inside the purple "Math" drawer. Assign the two speed variables to the left and right wheels. The 'wheel speed' brick can be found in the green "Cutebot" drawer. |
|
Challenge: Modify the program to show a different icon. In addition, make the Cutebot only choose random forward directions, and do not allow it to reverse. |
Activity 2: Automatic Headlights
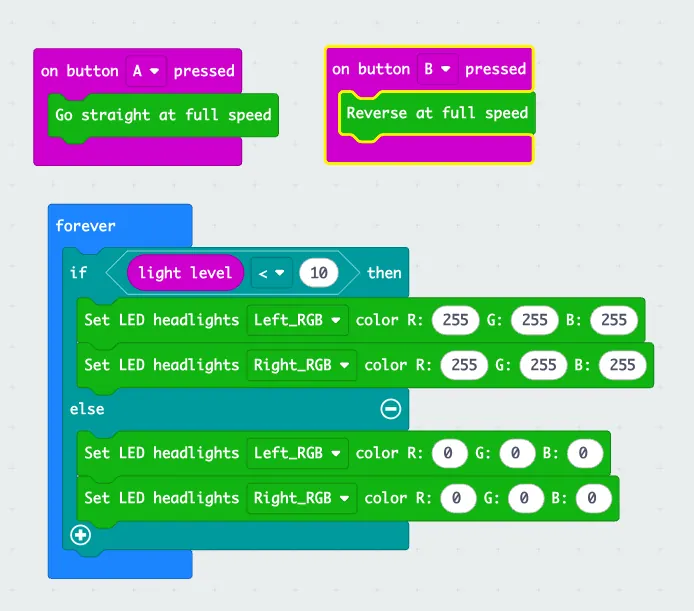 |
Make your Cutebot turn on its headlights automatically in the darkness.
1. Go to the purple "Input" drawer, and then choose "on button A pressed" (create another for Button B). The 'A' button goes forward at full speed, while the 'B' button goes in reverse at full speed. 2. Drag the "If...else..." brick into the forever brick to judge if the light level is below 10. And if it meets this condition, set the value of both RGB LEDs to 255 (The combined light is white). While the value is over 10, set the value of both RGB LEDs to 0 to turn off the lights. Challenge: Instead of white colour for the RGB LEDs, replace these with two different colours when the light level is below 10. |